S3
Amazon Simple Storage Service (Amazon S3) is an object storage service that provides a secure and scalable way to store and access data on the cloud. It is designed for storing any kind of data, such as text files, images, videos, backups, and more. Read more here
Read more about S3 using aws-cli here

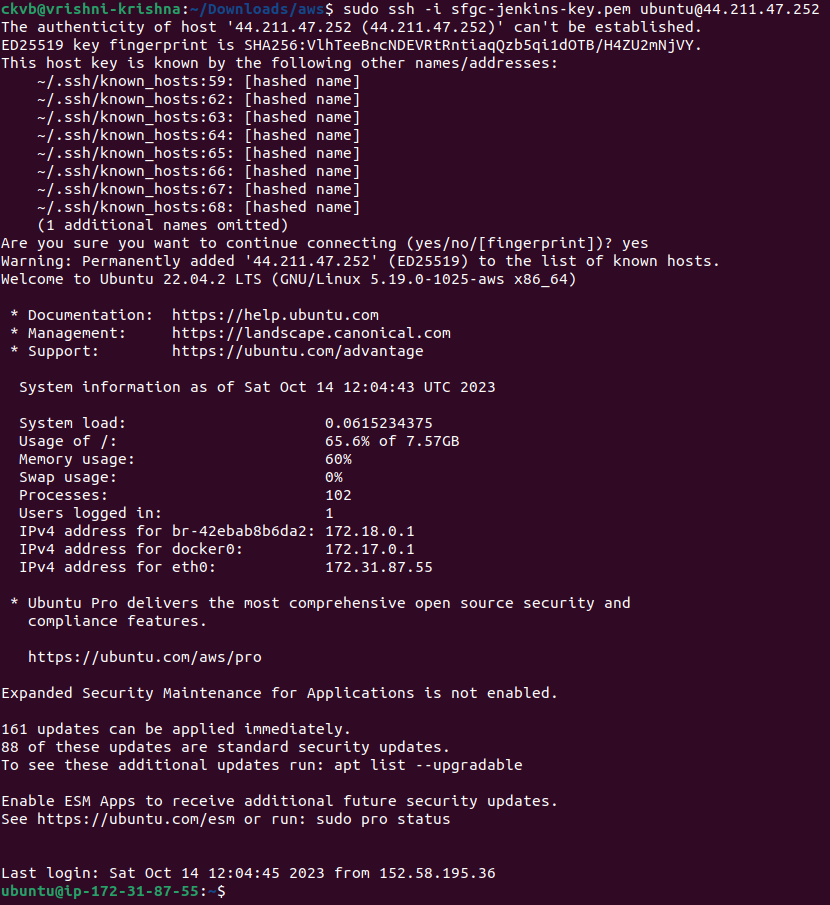
Step 1: Launch an EC2 instance and connect to it using SSH


Step 2: Create an S3 bucket and upload a file
Create an S3 Bucket
In the AWS Management Console, go to the "Services" menu and select "S3" under the Storage section.

Click the "Create bucket" button.

Choose a unique bucket name, select a region, and configure other settings as needed.

Create the bucket.

our created bucket is displayed here.

Upload a File to the S3 Bucket
Inside your newly created bucket, click the "Upload" button.

Click on Add files --> Select the file you want to upload from your local machine.

Upload the file.

Our file is updated.

Step 3: Access the S3 file from the EC2 instance using AWS CLI
Connect to your EC2 instance using SSH:
Use the SSH command you obtained in Task 1 to connect to your EC2 instance.

Install AWS CLI on the EC2 Instance:
You may need to install AWS CLI if it's not already installed on your EC2 instance. You can use the following command to install it:
sudo snap install aws-cli --classic
Configure AWS CLI:
Run
aws configureand provide your AWS Access Key ID, Secret Access Key, default region, and output format. You can find these credentials in the AWS IAM (Identity and Access Management) console.
Access the S3 File from EC2:
Use the AWS CLI to copy the file from your S3 bucket to your EC2 instance. For example:
aws s3 cp s3://your-bucket-name/your-file.txt /path/to/destination/on/ec2/
Indicates that the download was successful, and the file is now located in your EC2 instance's home directory.
If you want to confirm that the file has been copied, you can list the contents of your current directory using the
lscommand:


Step 1: Create a snapshot of the EC2 instance and use it to launch a new EC2 instance
Create a Snapshot:
In the AWS Management Console, go to the EC2 service.
Select the EC2 instance you want to create a snapshot of.
Right-click on the instance and choose "Create Image."


Launch a New EC2 Instance:
In the AWS Management Console, go to the EC2 service.
Click "Launch" to create a new EC2 instance from the AMI.

Step 2: Download a file from the S3 bucket using the AWS CLI
Connect to the New EC2 Instance:
Use SSH to connect to the new EC2 instance you launched in Task 1. Make sure to use the key pair you used for the original instance.

Install AWS CLI (if not already installed):
If AWS CLI is not already installed on the new instance.
sudo snap install aws-cli --classic
Download a File from S3:
aws configure

Use the AWS CLI to download a file from your S3 bucket to the new EC2 instance. Replace placeholders with your actual values. For example:
aws s3 cp s3://your-bucket-name/your-file.txt /path/to/destination/on/ec2/
Step 3: Verify that the contents of the file are the same on both EC2 instances
In 2nd instance

In 1st instance

That's it! By following these steps, you can create a snapshot of an EC2 instance, launch a new instance from the snapshot, download a file from the S3 bucket, and verify the contents of the file on both EC2 instances.
Thank you so much for reading
Follow me on LinkedIn to see interesting posts like this : )

