

Understanding code-commit and code-build in AWS
(1) Providing access to users for CodeCommit-(similar to GIT&GitHub)
Step 1 - Login to your AWS console and search for codecommit as shown.
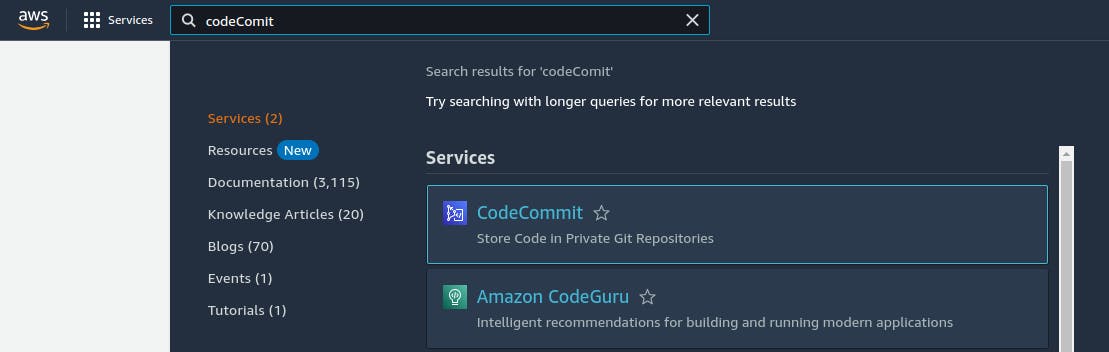
We'll see something like this...🧐
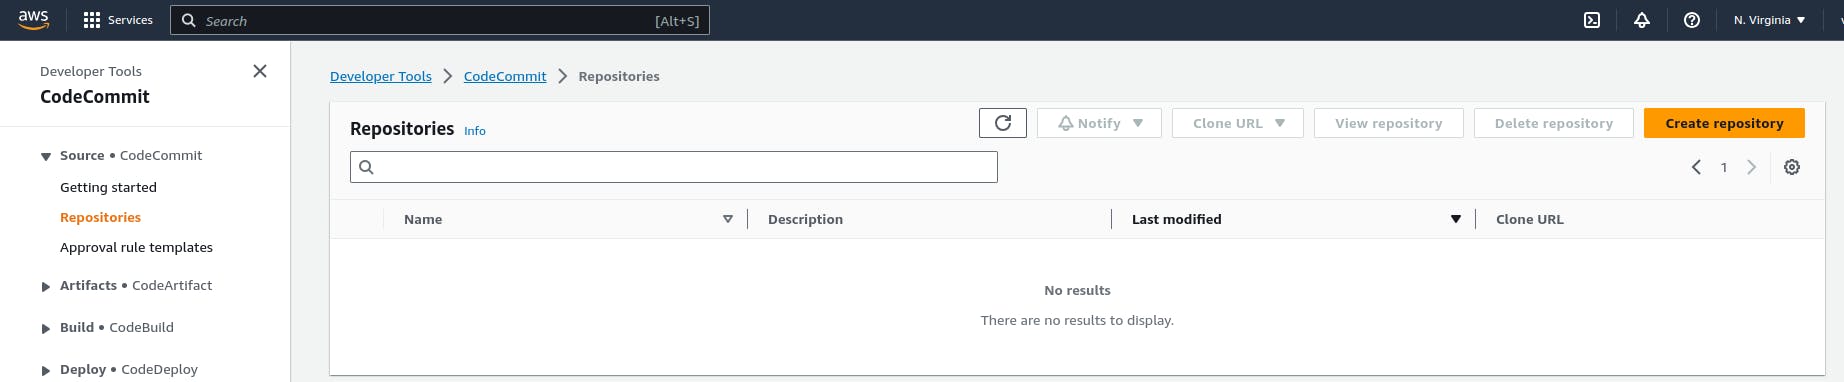
Step 2 - Now create a repository, by giving some name & description.
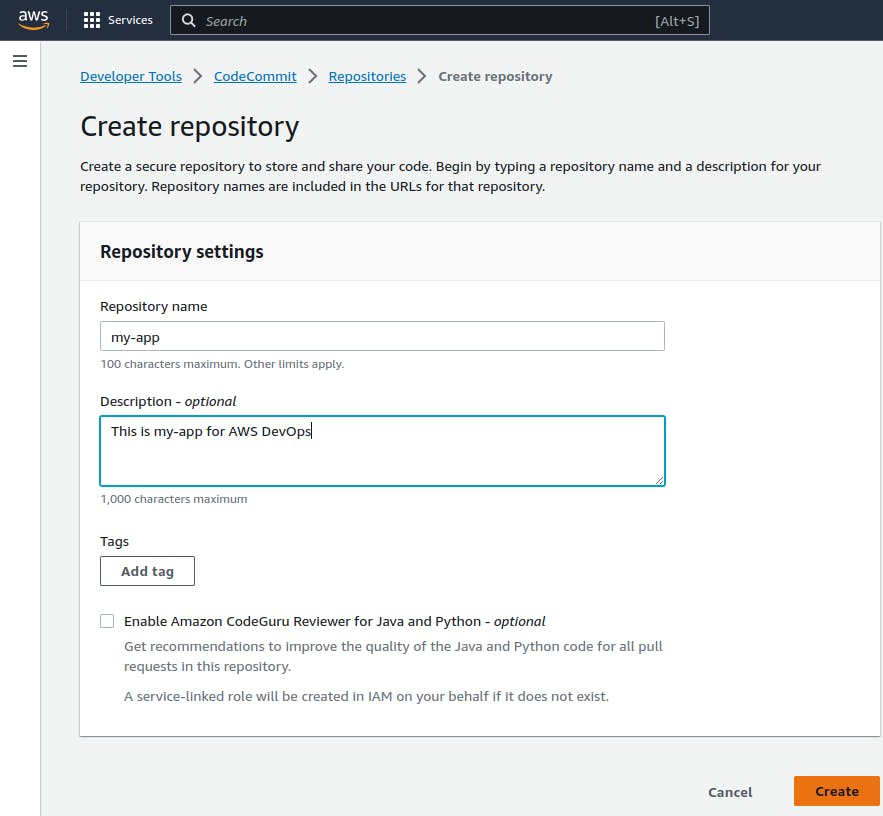
⚠️⚠️wait... The repository is created successfully, but we got a warning as...⚠️⚠️
⚠️You are signed in using a root account. You cannot configure SSH connections for a root account, and HTTPS connections for a root account are not recommended. Consider signing in as an IAM user and then setting up your connection.⚠️
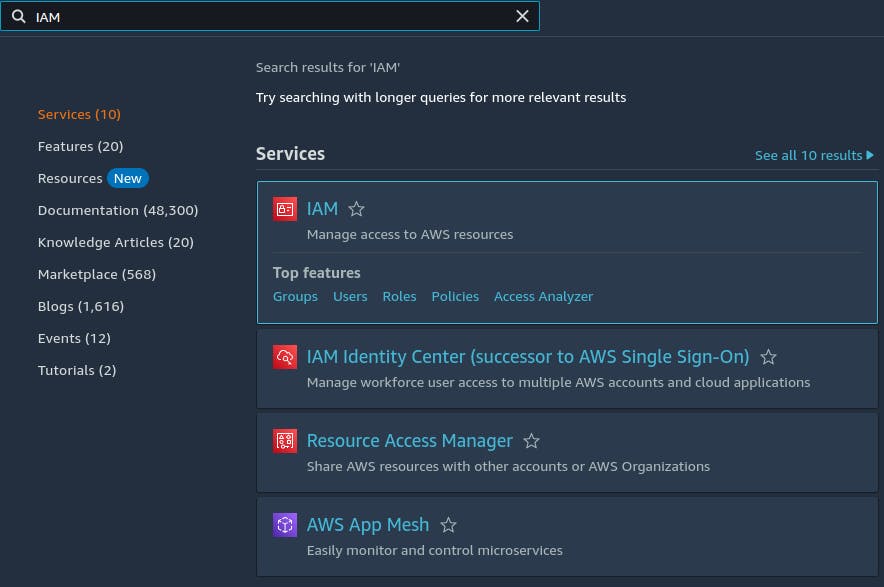
Step 3 - So we need to create a user...
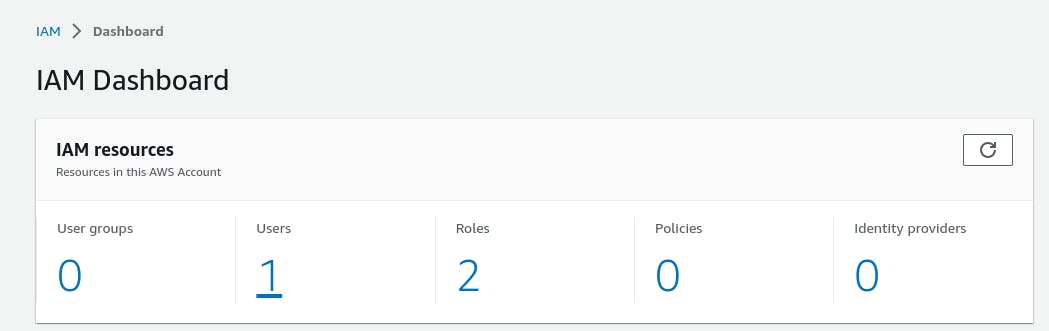
- Type IAM as shown...
click on users
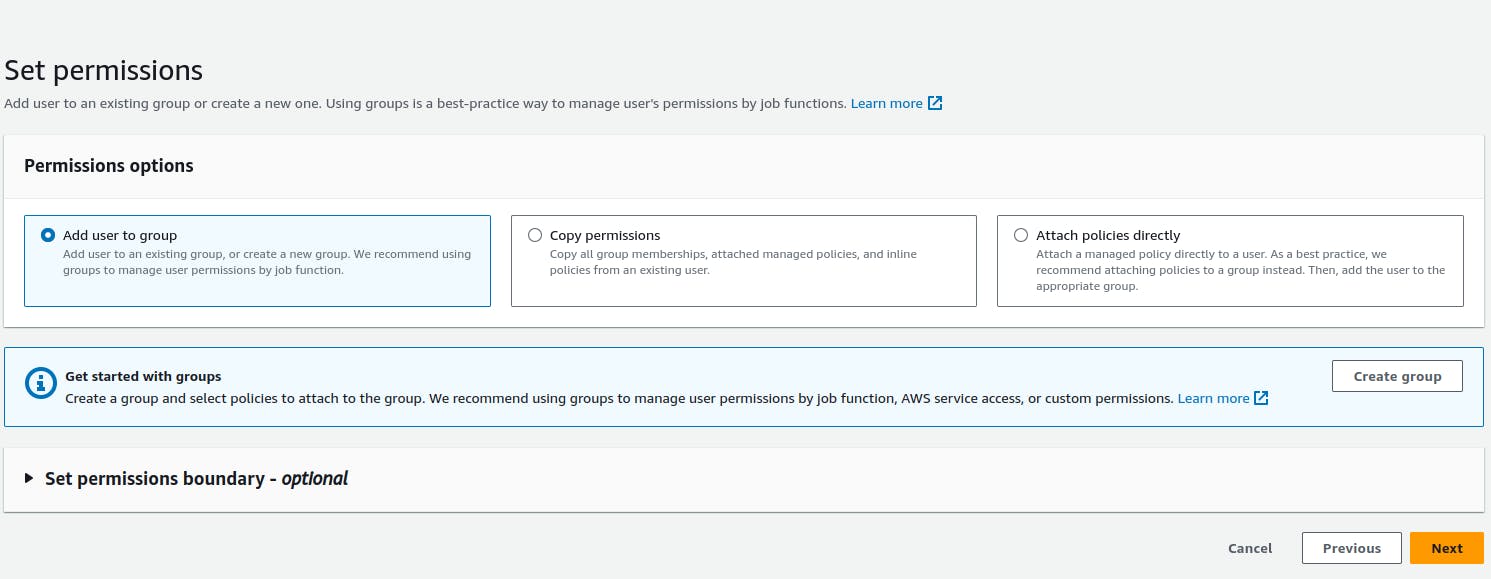
fill in the details as shown and click NEXT

Don't add to any group, just click NEXT here.
On the next page, we can see our user has only one permission i.e., to change the password..!
Here just clickCREATE USER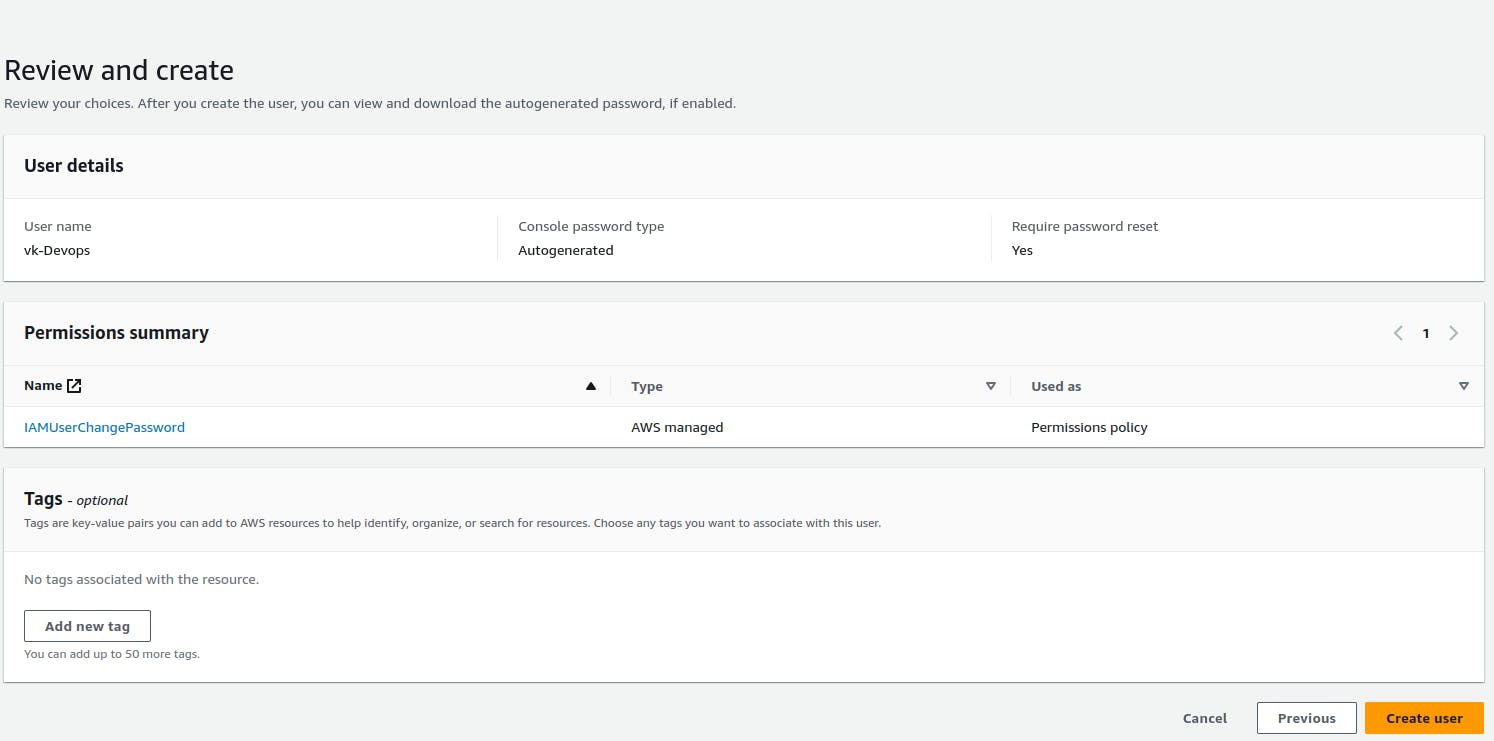
Save your password somewhere or click on the
Download.csv file, which is shown below, and clickReturn to users list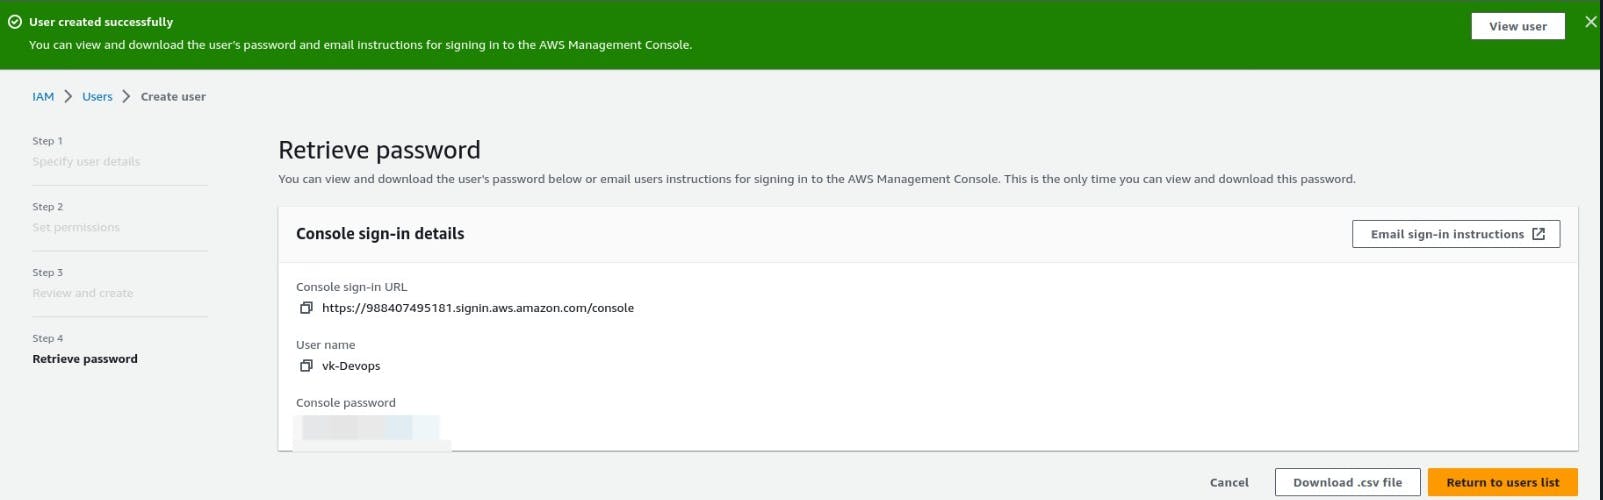
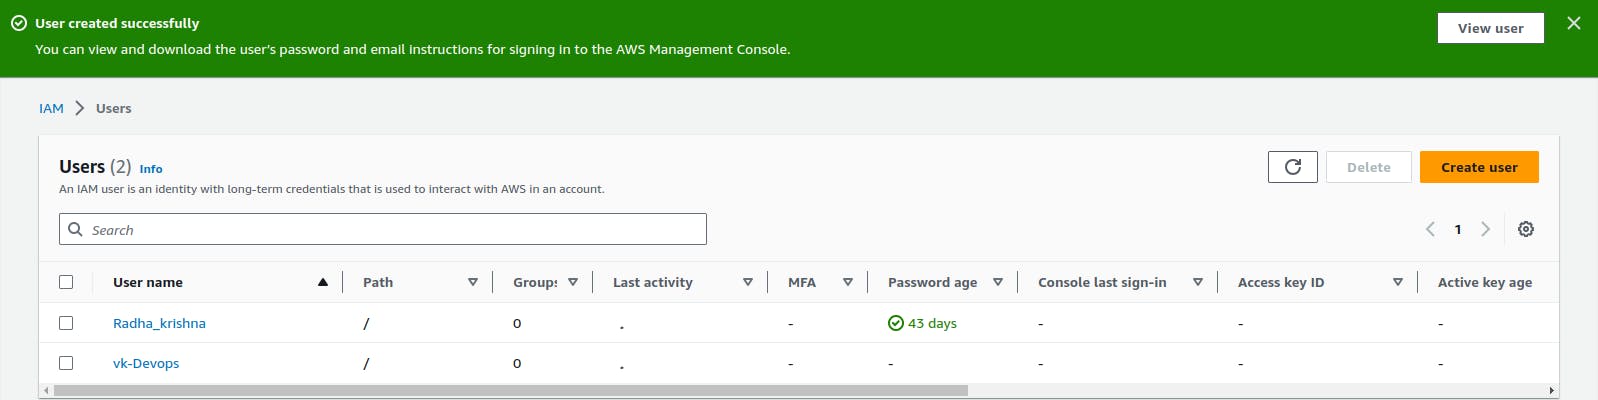
We can see our user is created.
Now we need to give codecommit access to our new user, which can be given through credentials.🔐
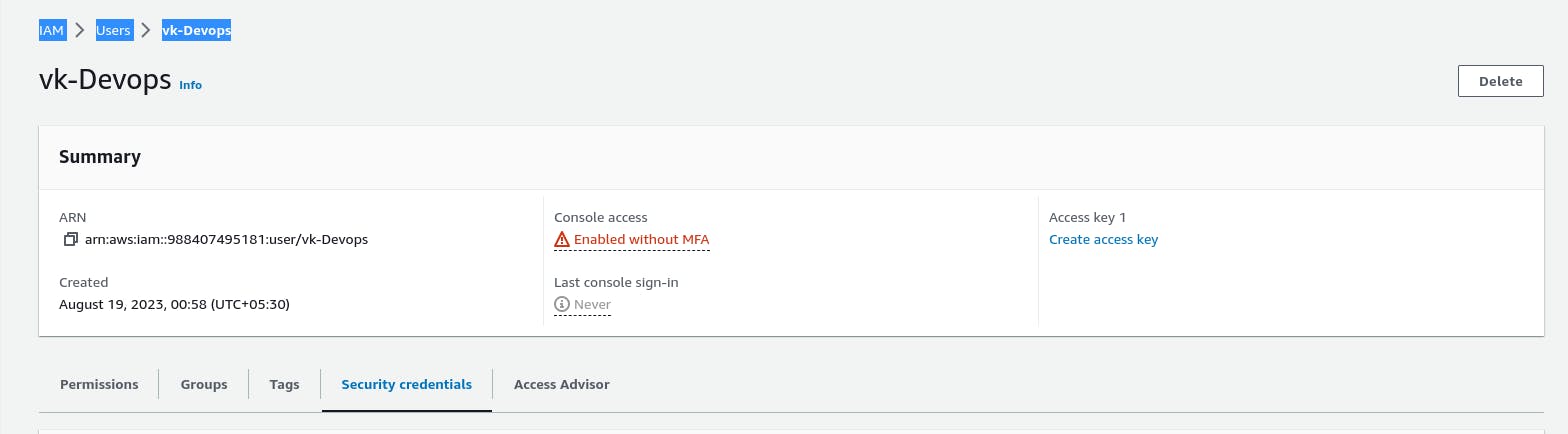
Step 4 - Now click on your user-->security credentials, and look at the path above...
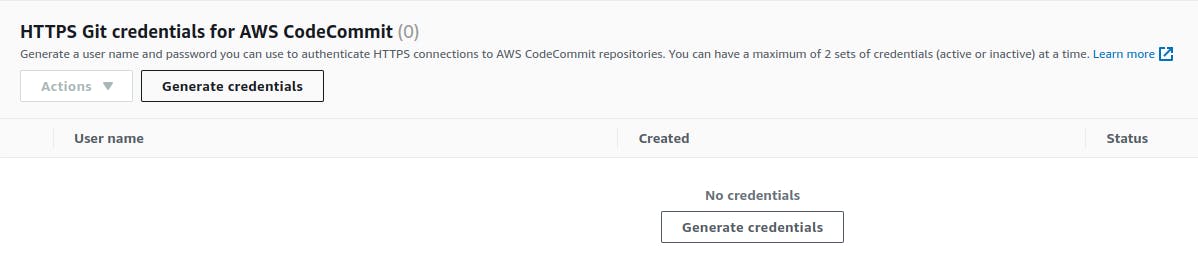
Step 5 - Slide down and look for HTTPS GIT CRE.... and click Generate Credentials
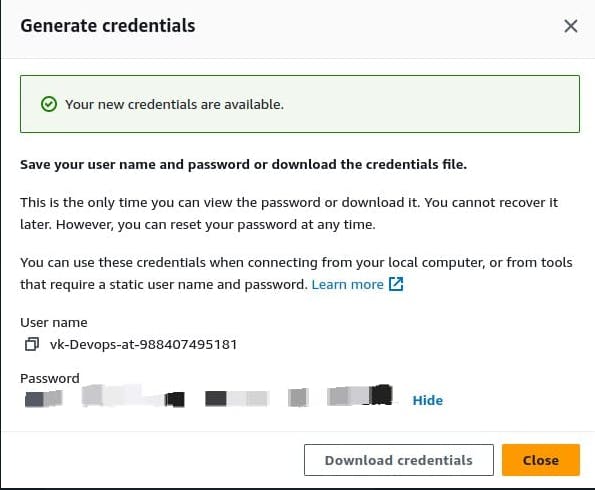
Step 6 - Now click Download Credentials.
By using these credentials we can access the codecommit repo.
Step 7 - Now we need to clone our My-app repo locally.
Now go back to your codecommit page, where you created your my-app repo and click on clone URL--> select clone HTTPs.
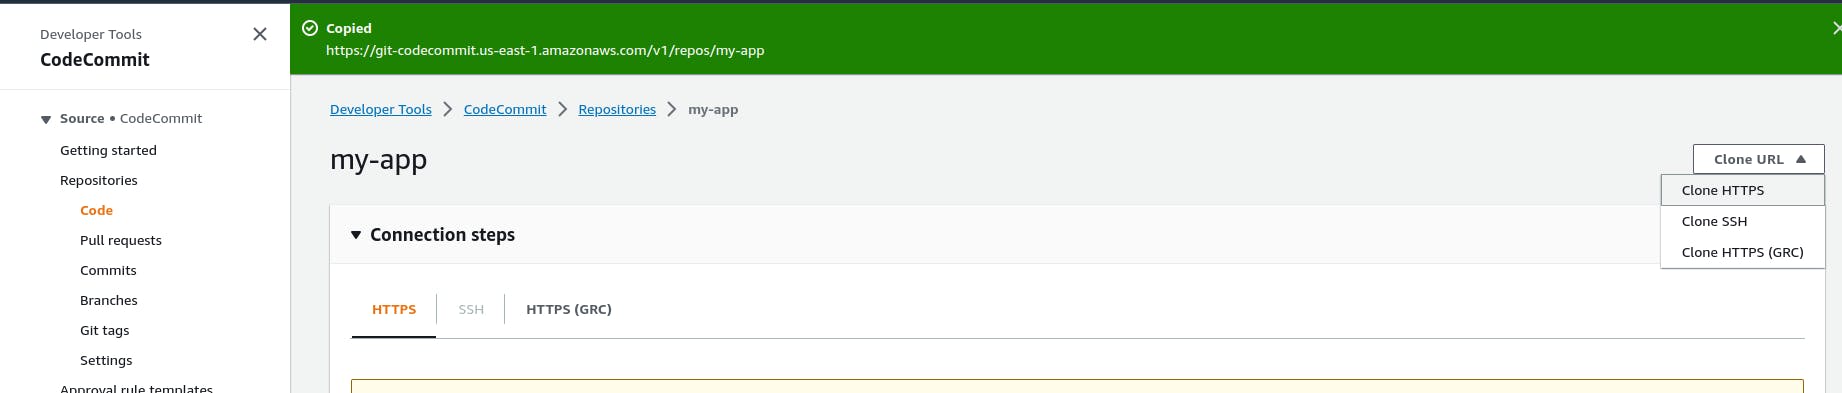
At the top, we can see a URL, were we'll use to clone it locally.

Now open your terminal and clone it as shown.
But we got an error because the user doesn't have codecommit access. After all, previously we were just permitted to change the password right:) so let's give it codecommit access too...
Now goto your IAM users page--> permissions-->add permissions.
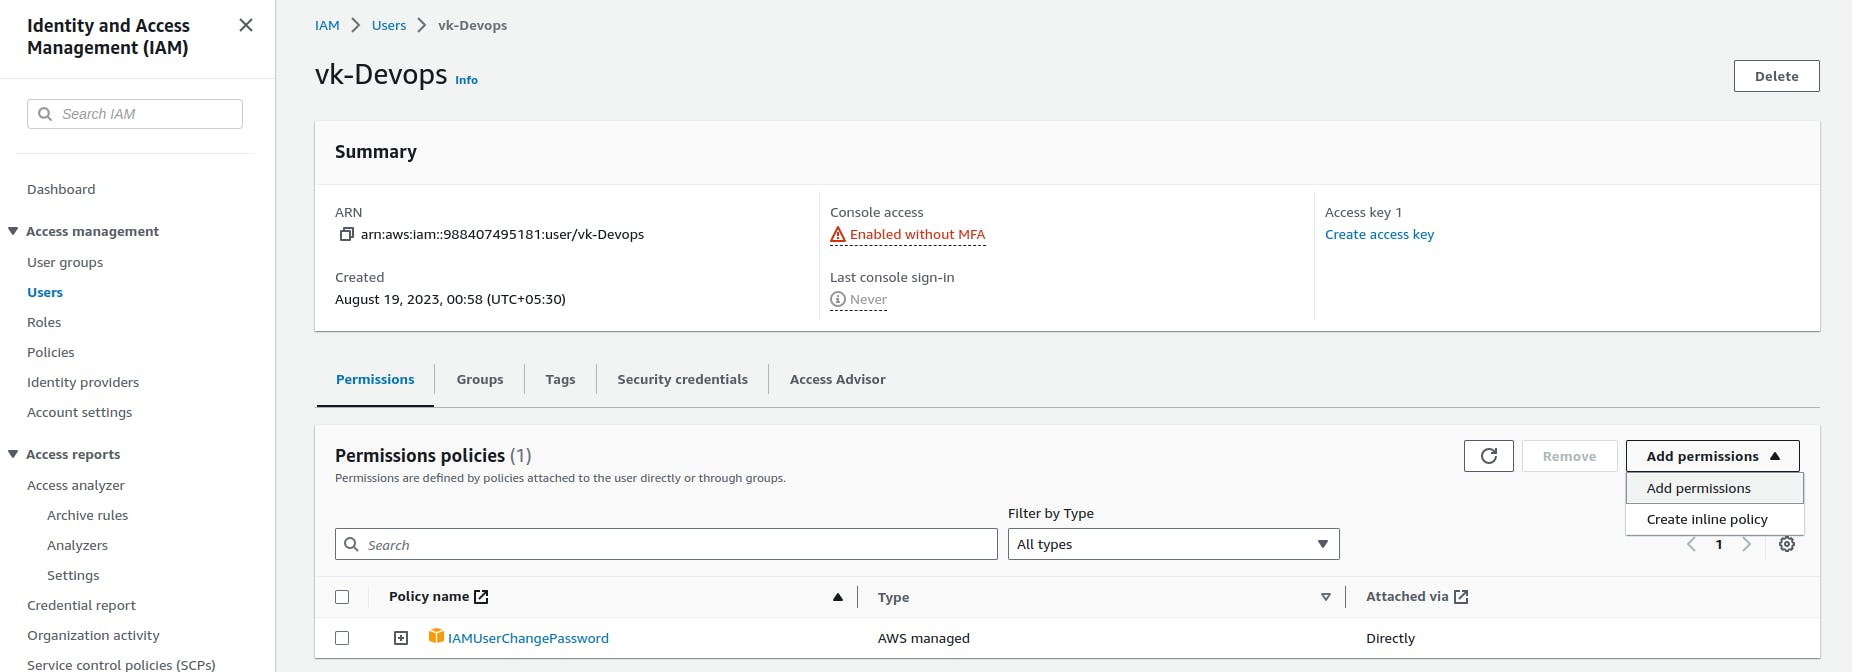
click attach policies-->type codecommit-->select AWSCodeCommitPowerUser-->NEXT
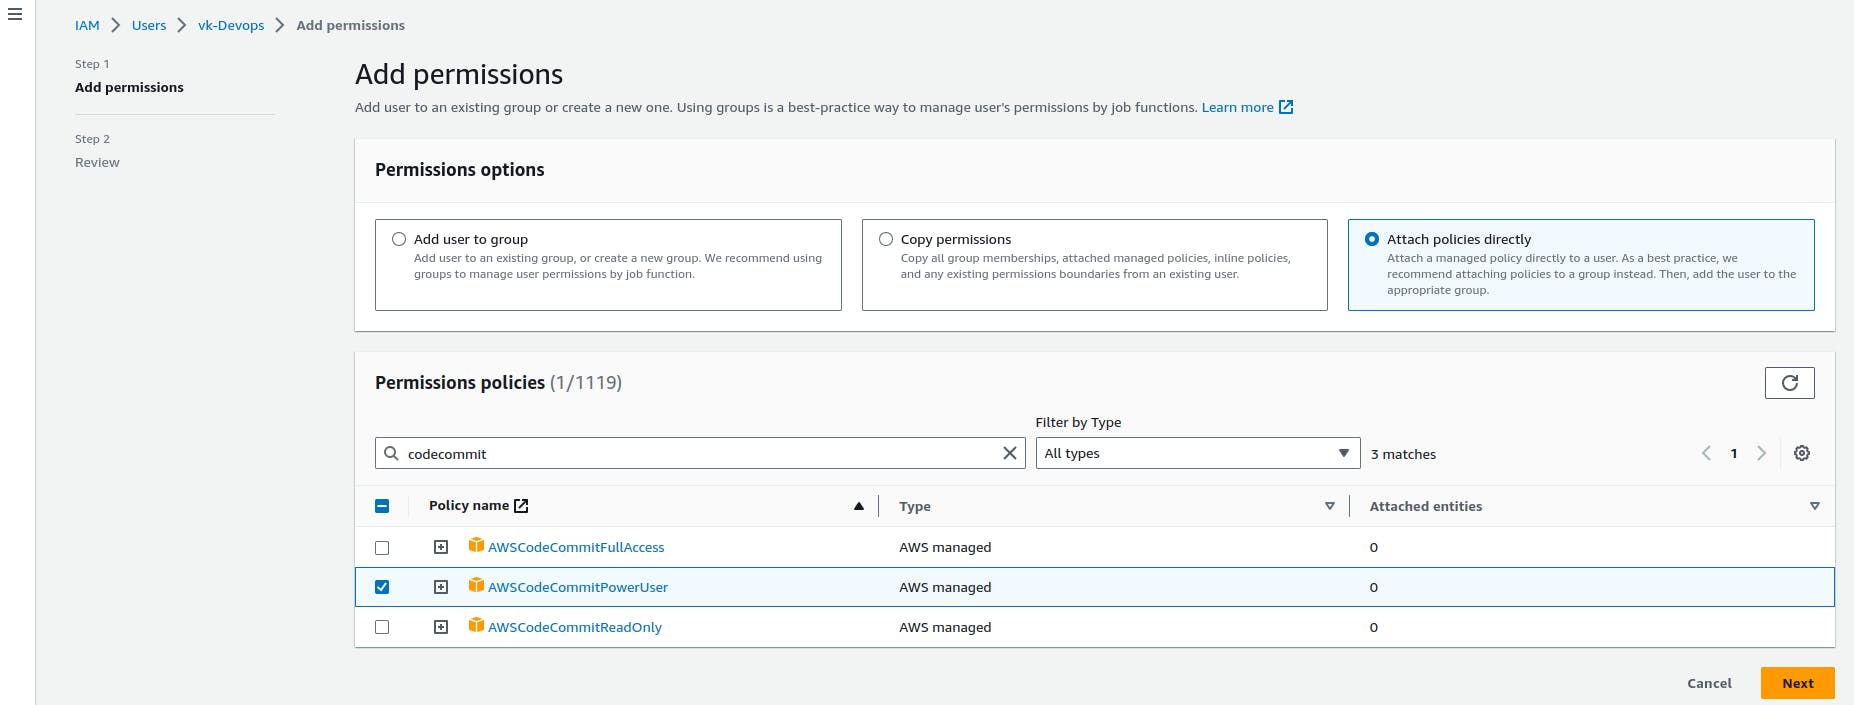
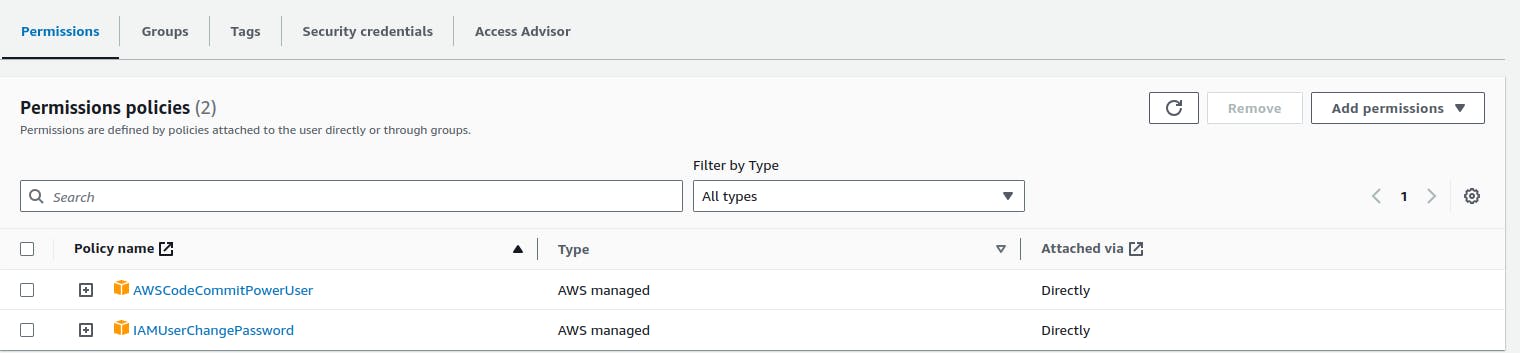
Now it got the codecommit permission too...😁😁
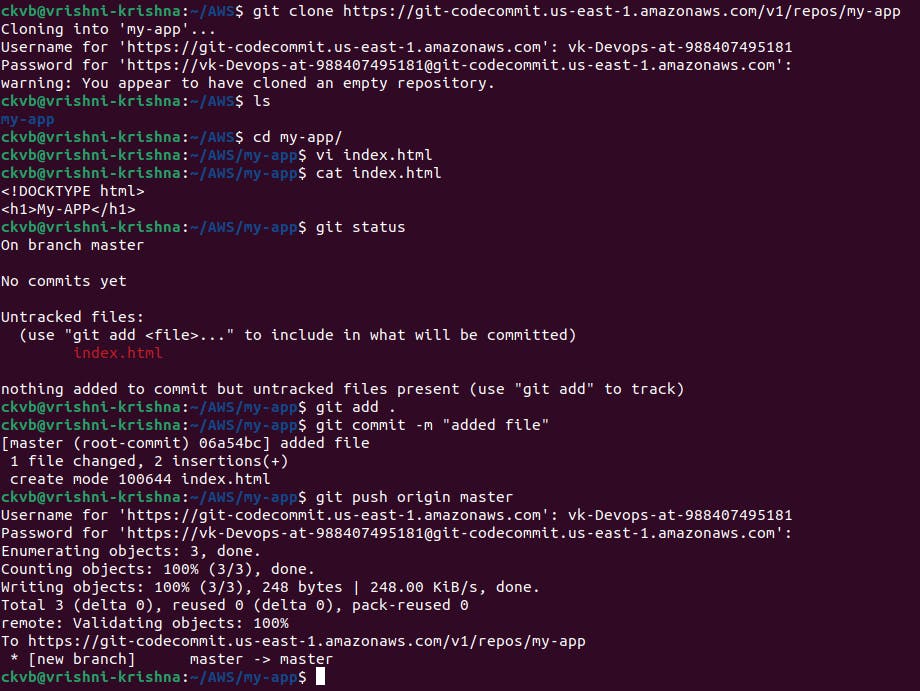
Now try to clone again...!
For username and password refer to the downloadedcodecommit credentials file.
once u get this message(You appear to have cloned an empty repository)...then
congratulate yourself, you have cloned successfully :)
Step 8 - Now once it is cloned, let's create a file in it, and perform normal git operations as shown, (check the branch name, before pushing it)🧐🧐
Step 9 - Now our empty repository will have our sample file, let's refresh and look into it(check the path above)🤩🤩


DONE👻
Now our user can do CodeCommit just by following the above 9 steps💥🔥
(2) Let's look into CodeBuild Now(similar to Jenkins)
Step 1 - Beside your repo, click on Build--> Build Projects-->create build project👩🏾🔧

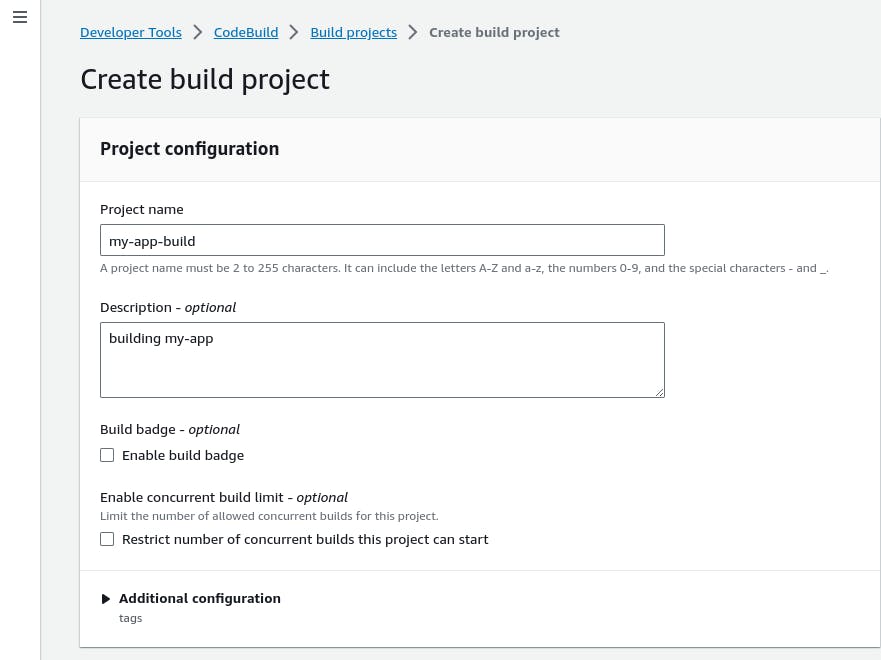
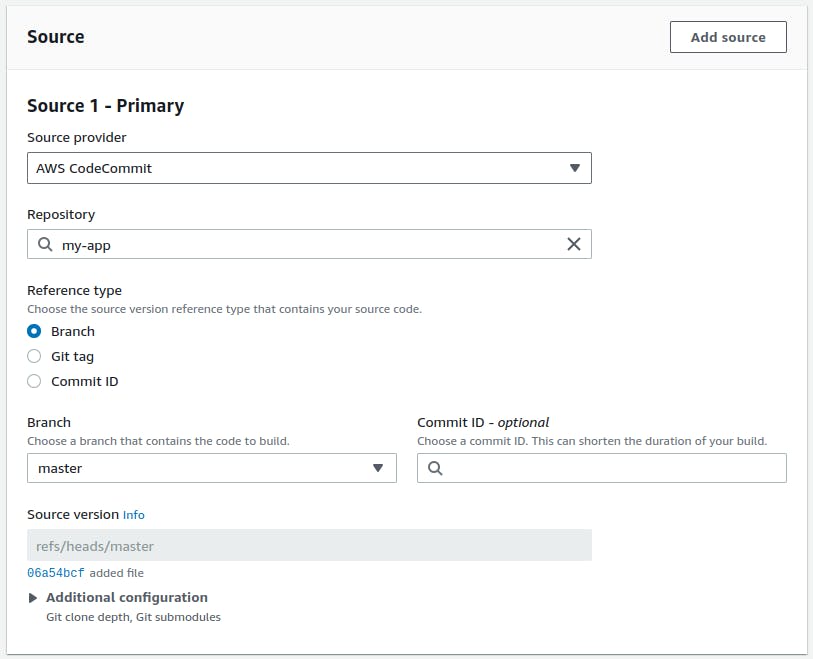
Step 2 - Fill in the details as shown📄

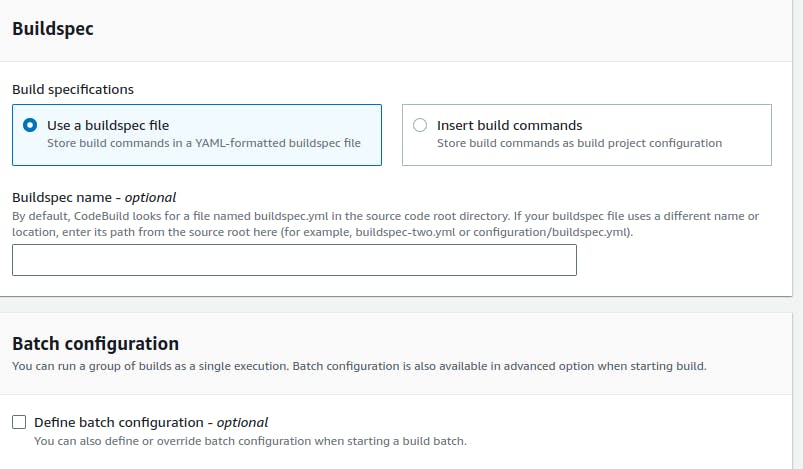
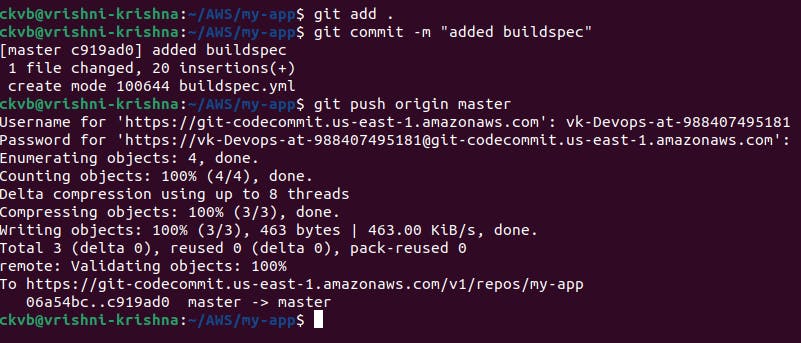
In buildspec, you need to create a YAML file
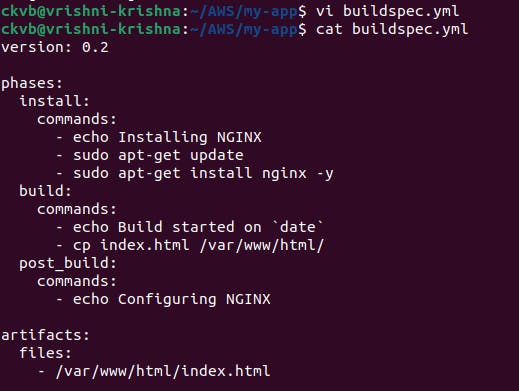
And perform git actions as shown...!
Once done, come back to the create build project page.
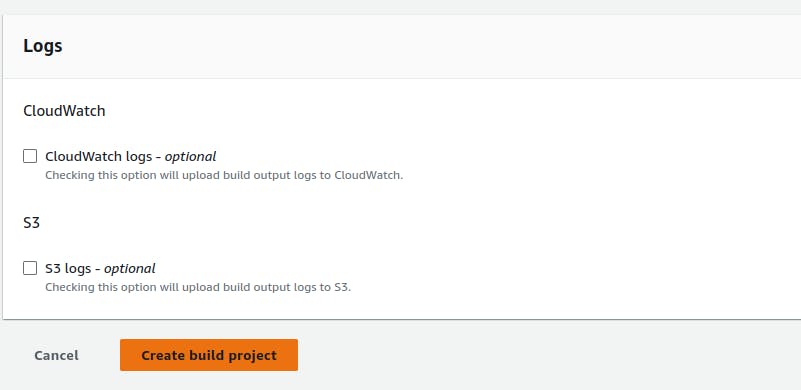
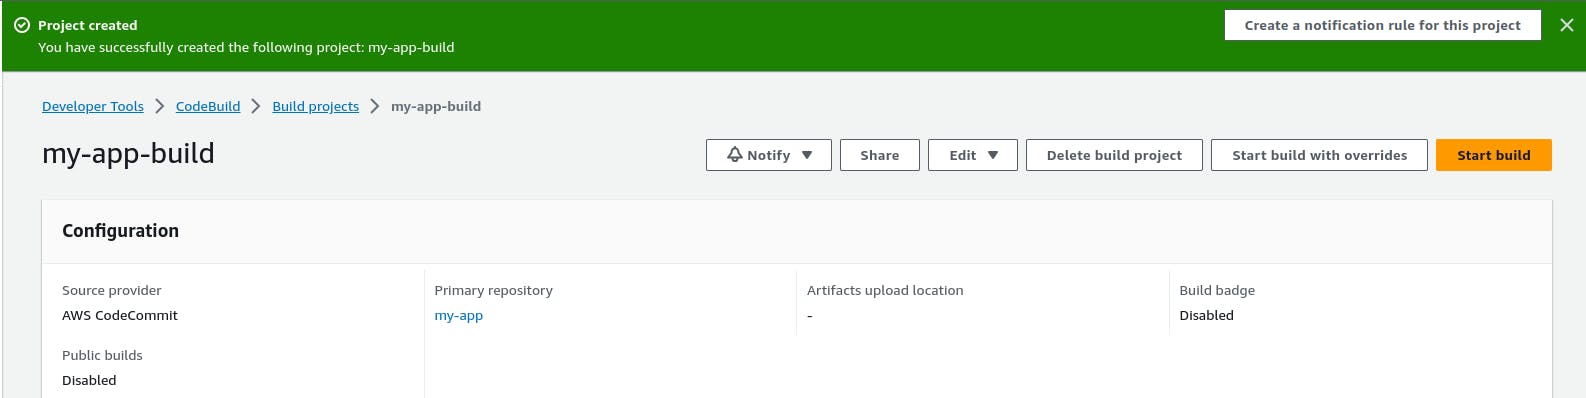
Now after buildspec, no need to enter anything, just scroll down and click Create build project.
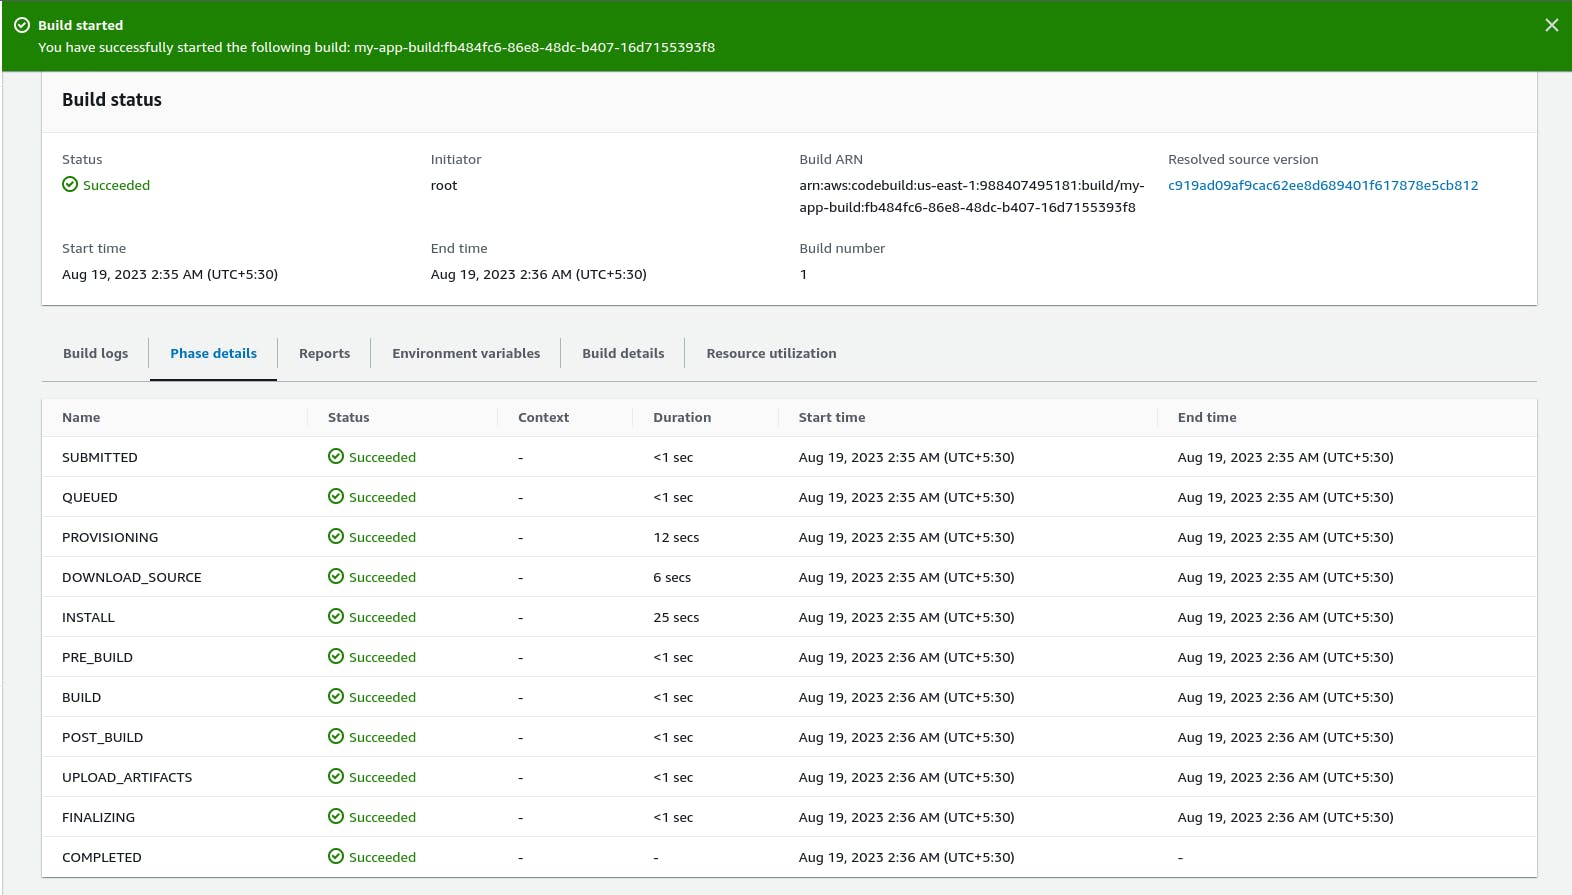
--> Click on start build.
Now click on phase details and see the success flowing......😃😃😃
Now let's see
Go to your repo, we can see our buildspec.yml file is also available here.
