Refer to this blog for installation in your OS (land on 5th point)--> Jenkins installation
After installation follow the below steps :)
step 1: Type this URL: https://<localhost\>:8080 in your browser, it will direct you to a page shown below.
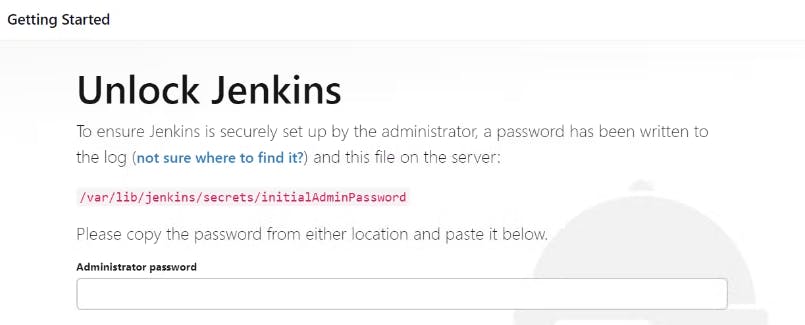
step 2: copy the path and paste it into your terminal

step 3: it will get you a password, copy that & paste in the browser & press continue, you will be directed to a page shown below, it's better to choose [install suggested plugins] always : )
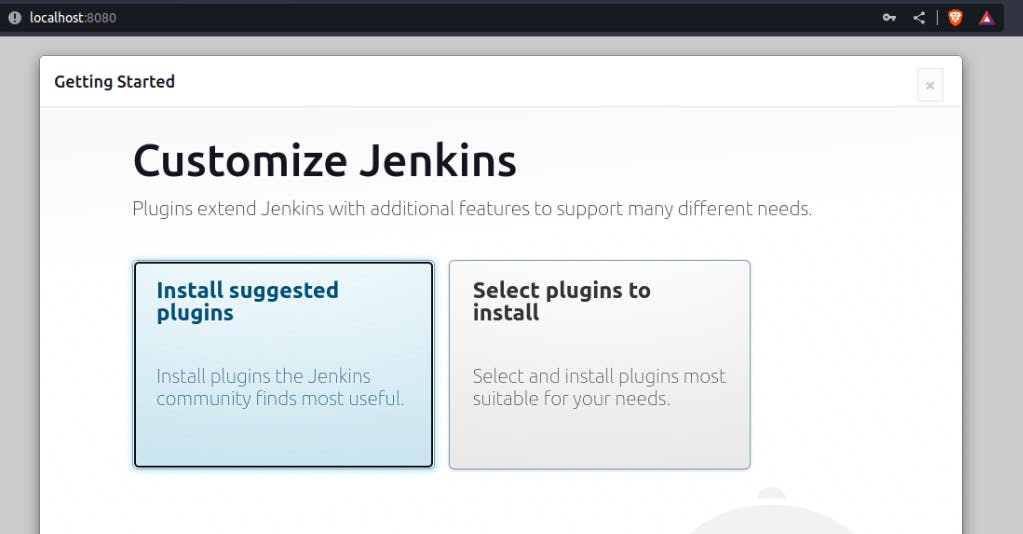
step 4: in case if you see any installation failures, don't worry, just press Retry button again : )
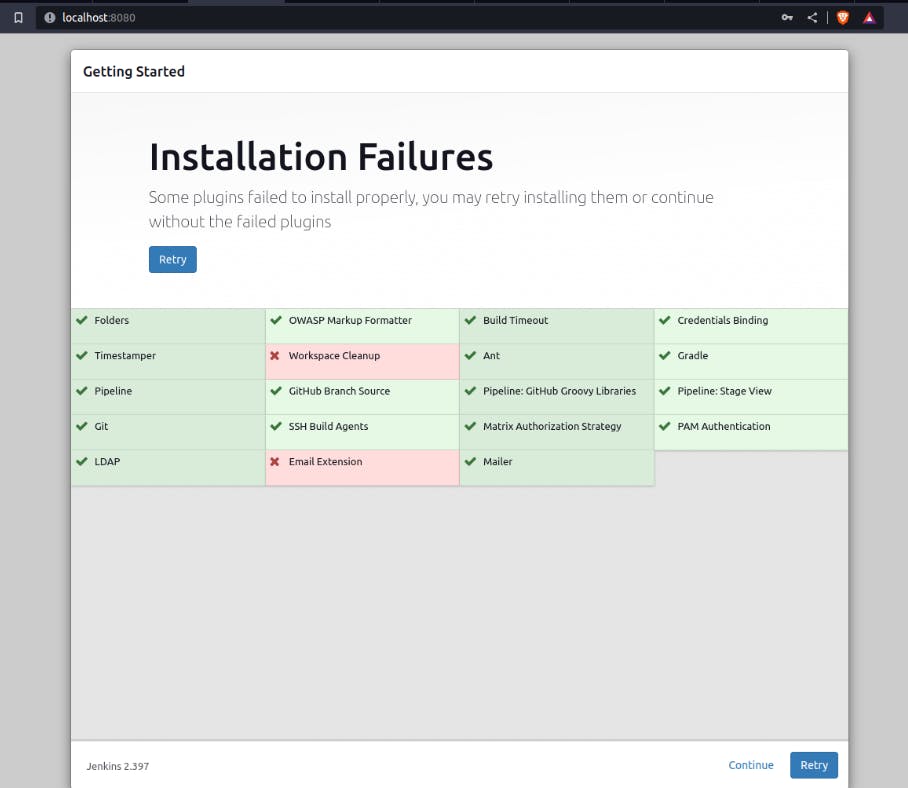
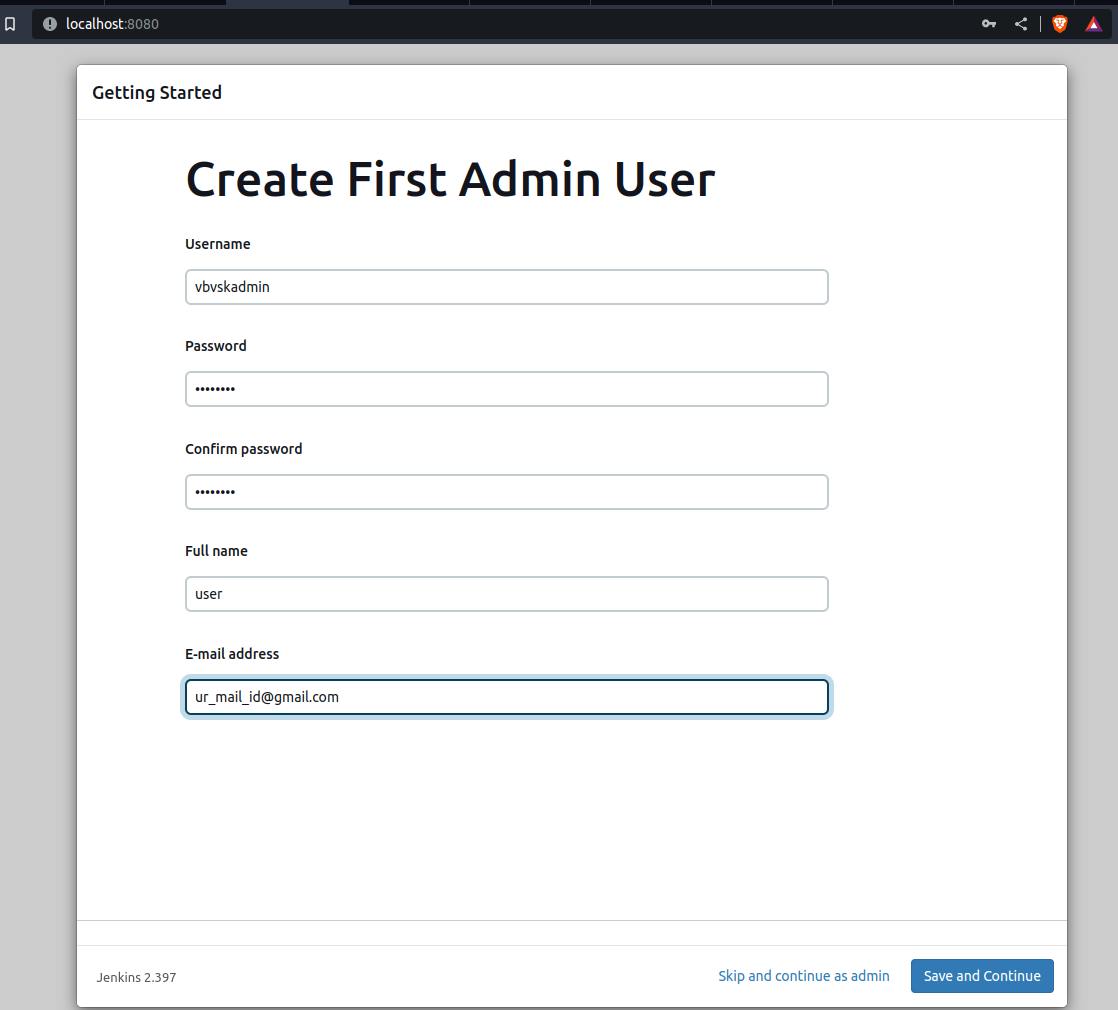
step 5: once all the plugins are installed, it will direct you to a new page, fill in the details, create your own_password, save & continue.
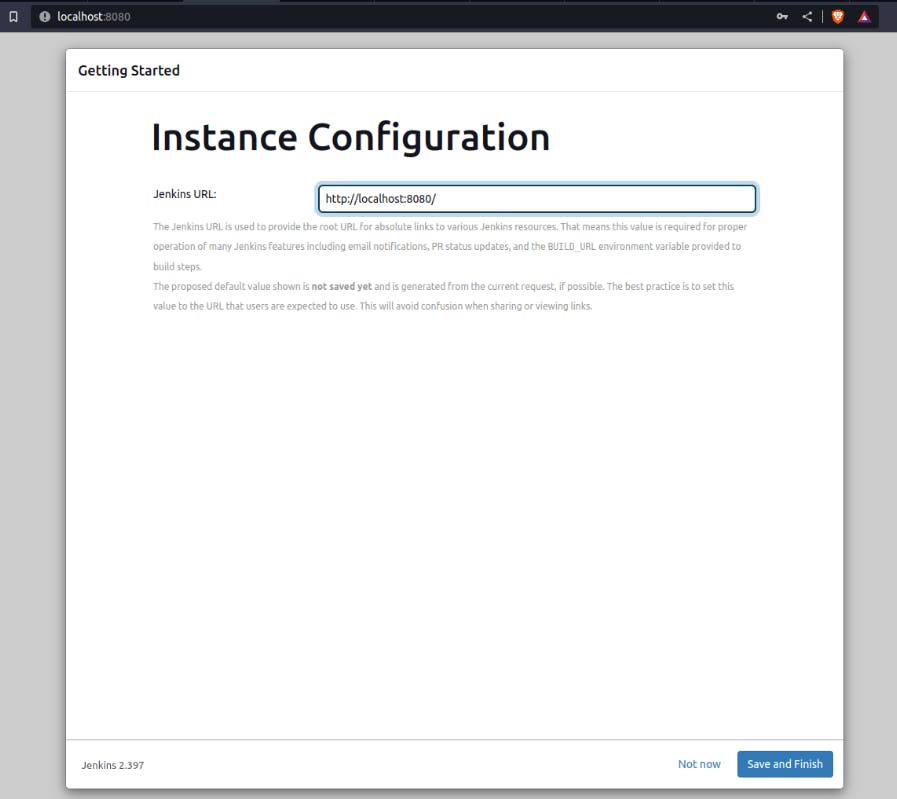
step 6: Later you can see a new page with Jenkins URL, don't do anything, just save & finish.
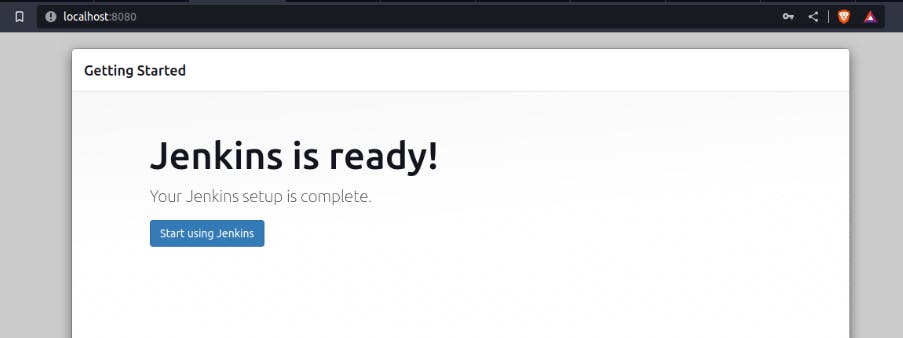
step 7: Jenkins is ready!
step 8: start using Jenkins, and here is your Dashboard : )
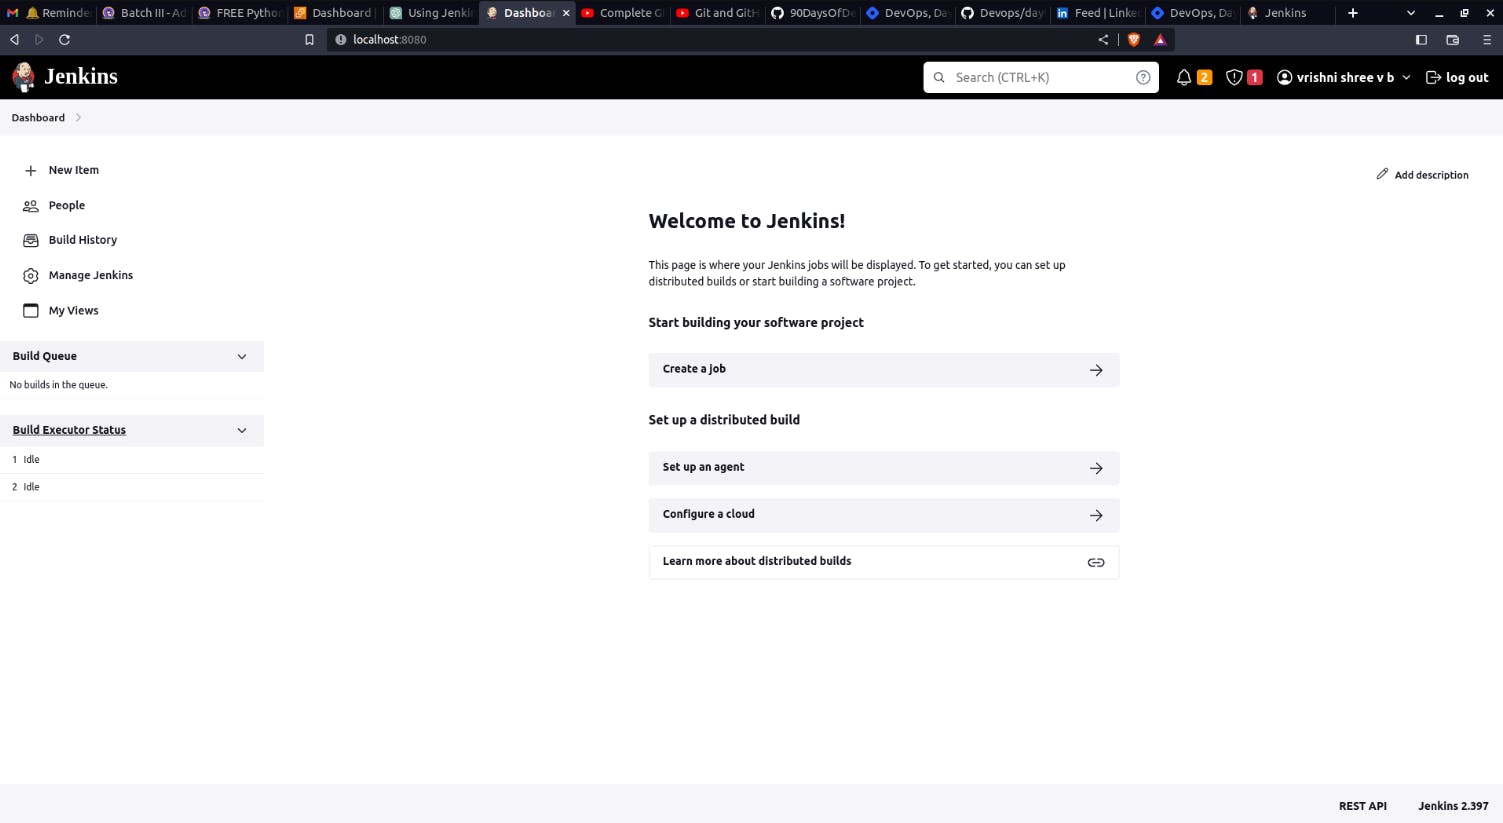
Finally done with the installation :)
Now, Let's Continue :)

Jenkins is a tool that helps automate the process of building, testing, and deploying software. It does this by allowing users to define a series of steps that are executed automatically when triggered, either by code changes or a set schedule. This helps to streamline the development process and increase efficiency.
Tasks:
Create a freestyle pipeline to print "Hello World!!
step 1: Goto new item
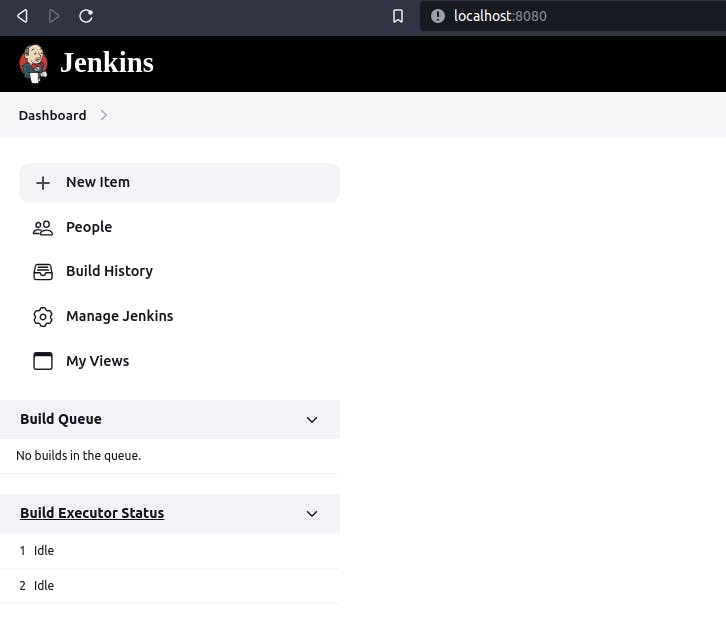
step 2: Create a job with a freestyle project, and press OK

step 3: Now, in General, give some description, and select None in Source Code Management
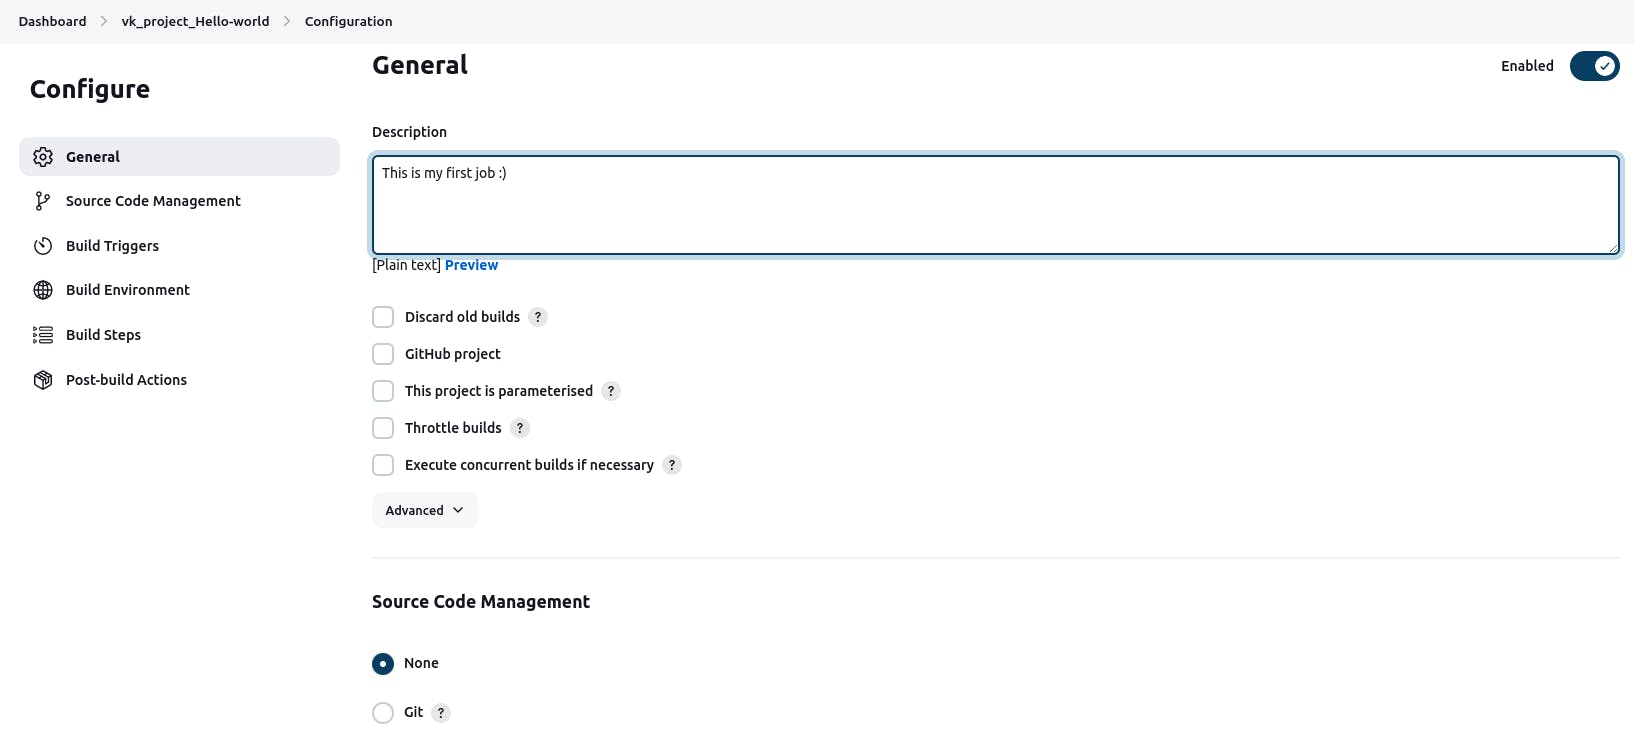
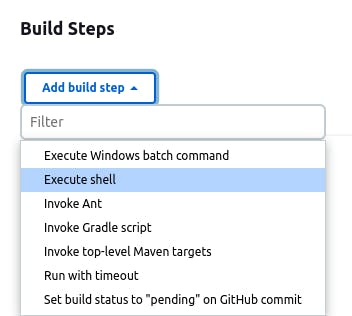
step 4: Scroll down to Build steps and select Execute shell
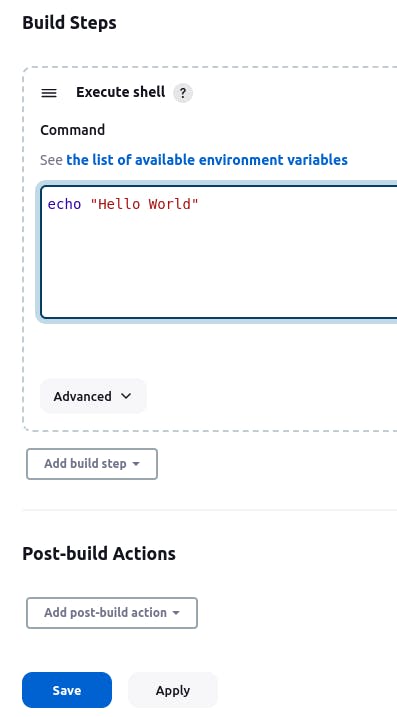
step 5: Let's print "Hello World" using the echo command, and save
step 6: After saving we can see a page similar to shown below...

step 7: Now click on Dashboard and select your job and click Build Now to run your job

Finally, we have set up Jenkins freestyle job to print "Hello World!!"
step 8: Now click on your job.

step 9: we can see a similar page right...
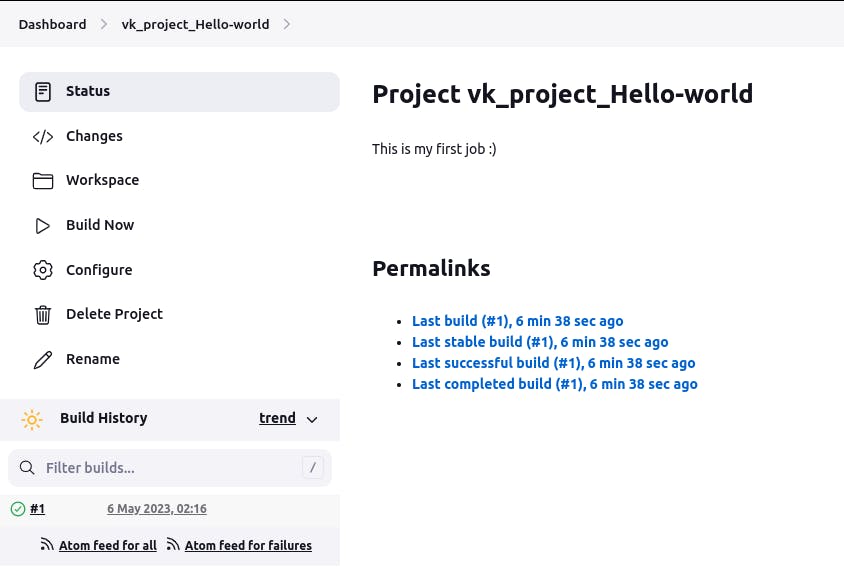
step 10: Now select console output by clicking #1 to see the output.
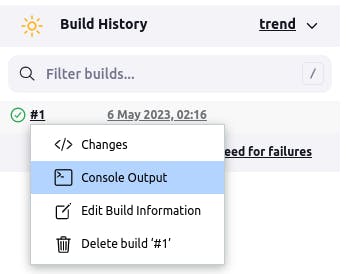
step 11: Success, we got the output "Hello World"

Thank you so much for reading.
Follow me on LinkedIn to see interesting posts like this : )
