


Prerequisites:
An AWS account: You need an Amazon Web Services (AWS) account to create S3 buckets and configure hosting.
A static website: Ensure that your website consists of only HTML, CSS, JavaScript, and other static files.
Steps to host a static website on an S3 bucket:
Create an S3 Bucket:
Log in to your AWS Management Console.
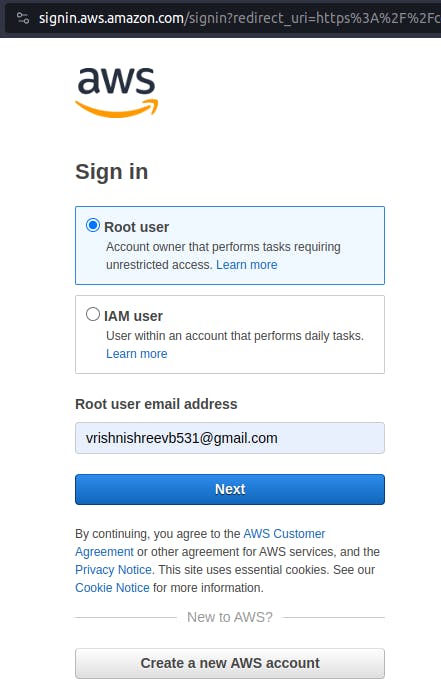
Go to the S3 service.
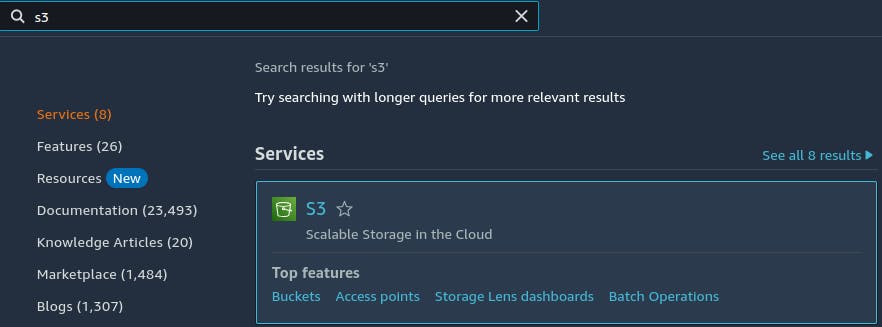
Click the "Create bucket" button.
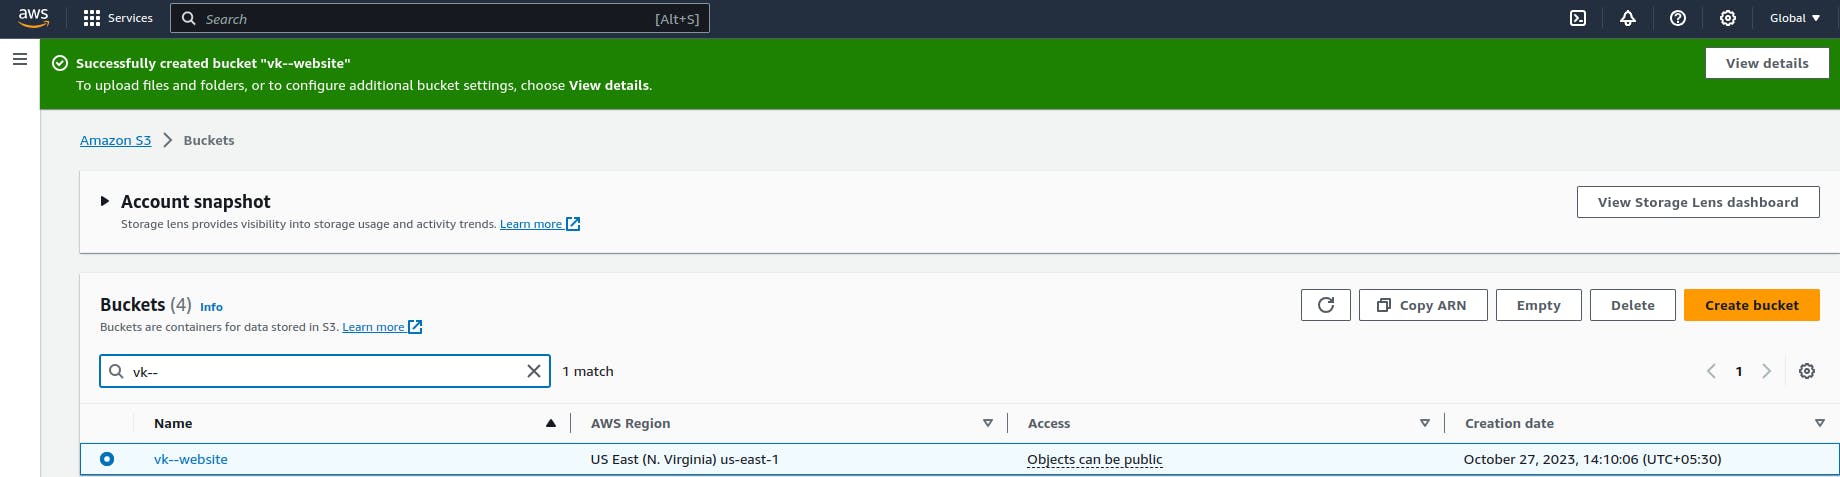
Choose a unique name for your bucket. This name will also be part of your website's URL (e.g., "vk--website").
Choose a region for your bucket. It's a good idea to choose a region close to your target audience.

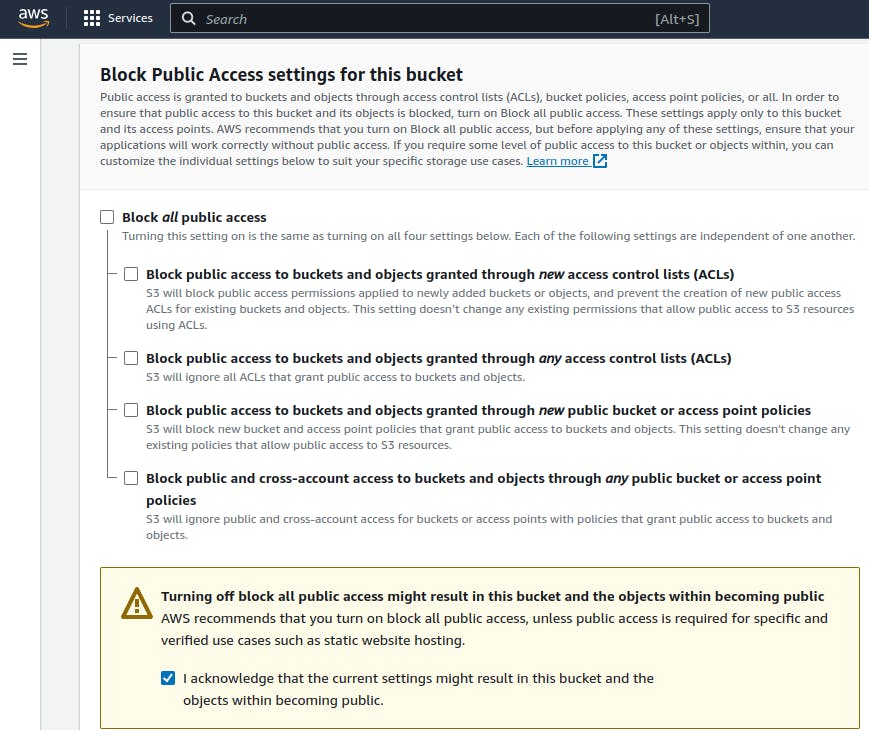
Leave the default settings for most options. Ensure that "Block all public access" is set to "Off" because you want to make your files public.
Click "Create bucket."
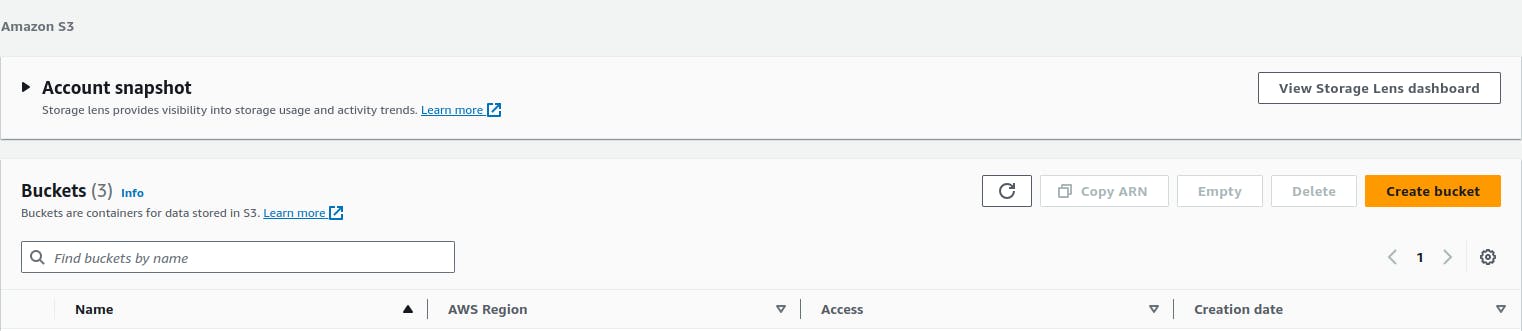
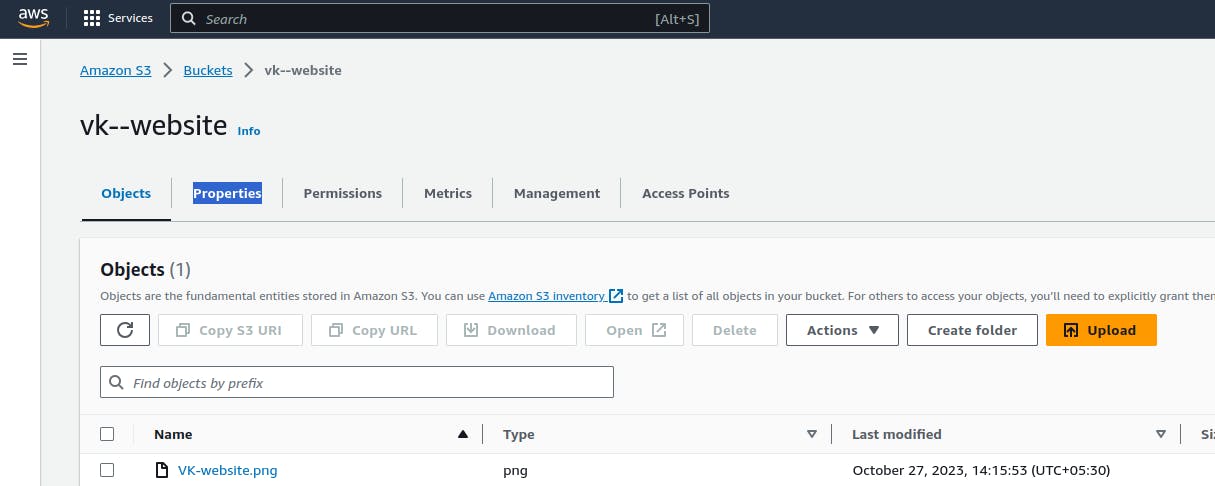
Our bucket is created.
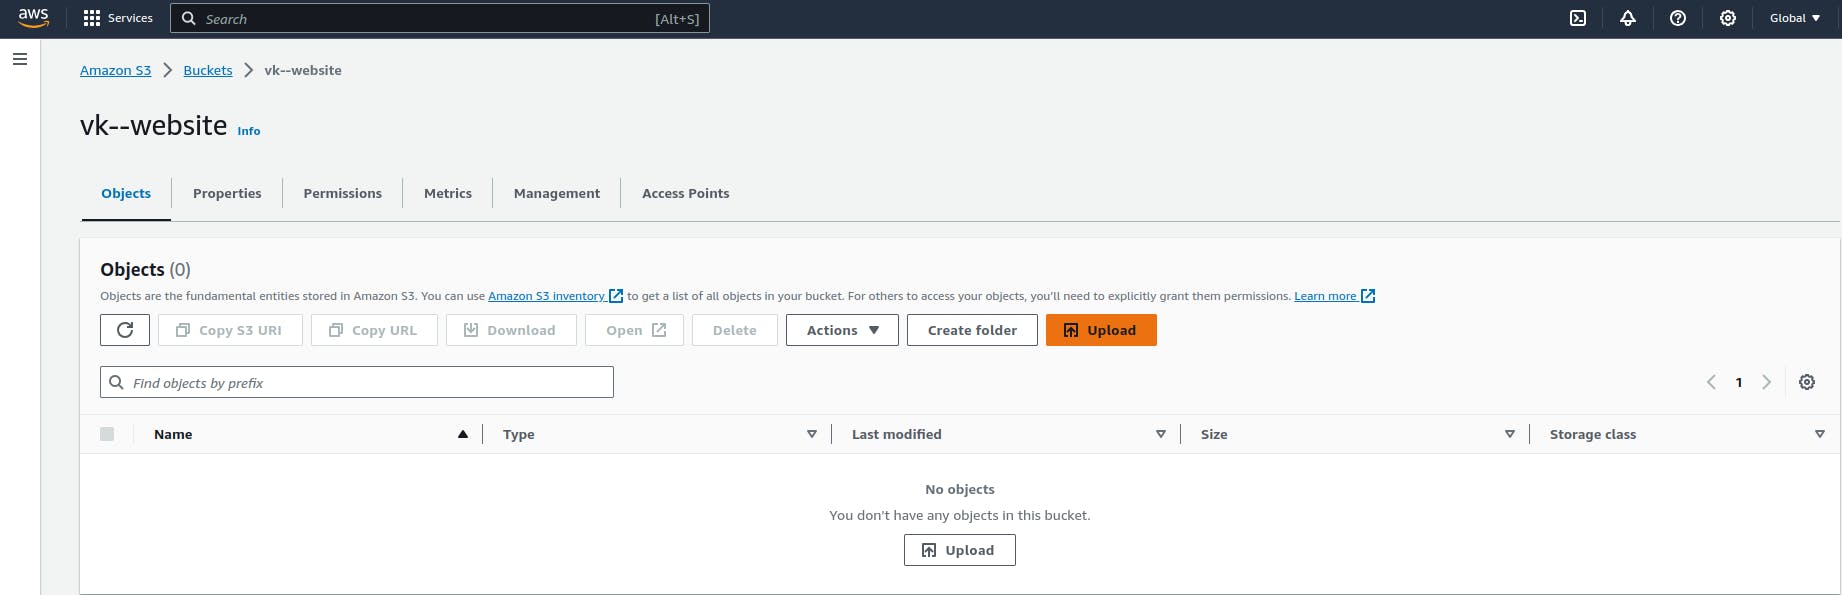
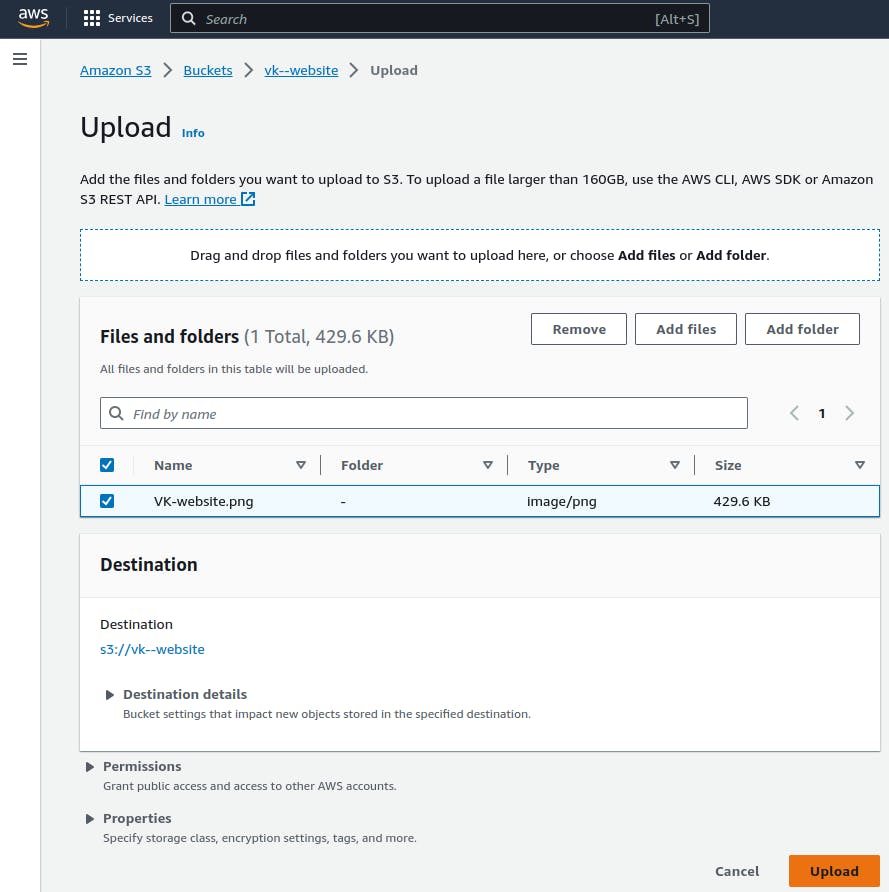
Upload Your Website Files:
In your newly created S3 bucket, click on the "Upload" button.
Select the files and folders of your static website and upload them to the bucket.
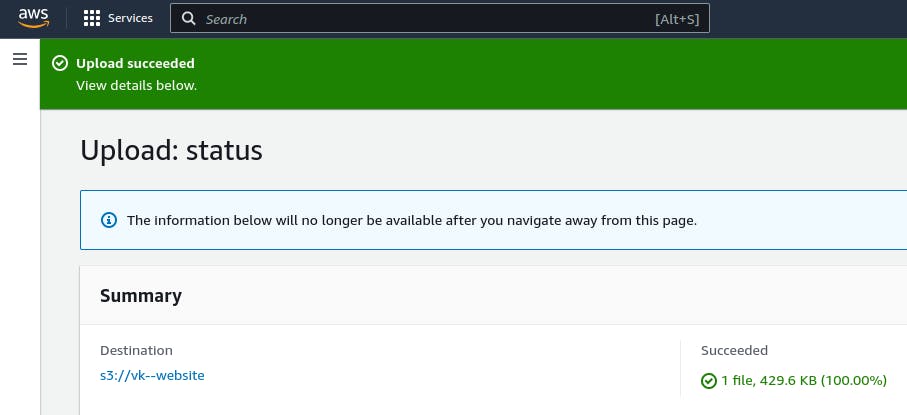
Uploaded.
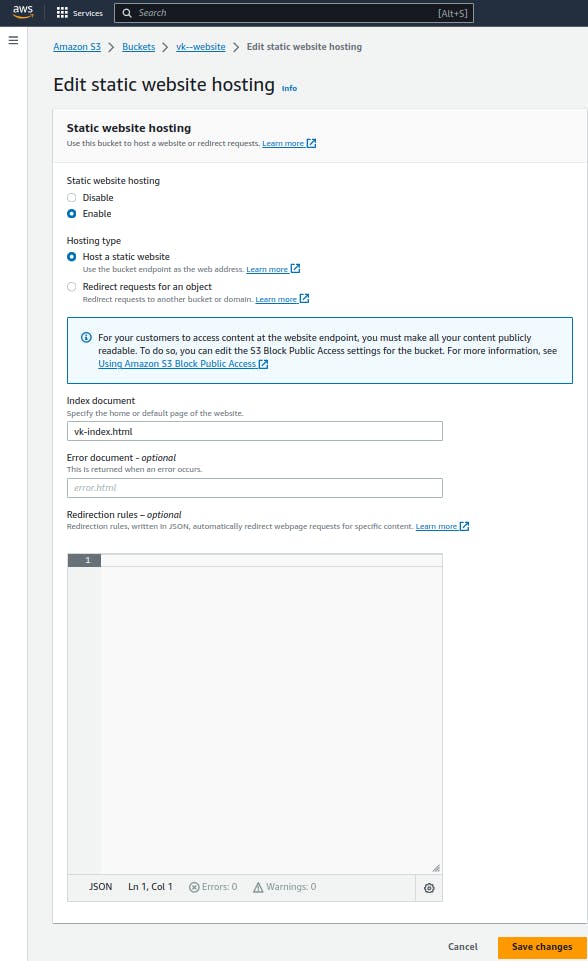
Configure Bucket Properties for Static Website Hosting:
In your S3 bucket, select the "Properties" tab.
Scroll down to the "Static website hosting" card and click "Edit."

Choose the "Use this bucket to host a website" option. / Enable it.
For "Index document," specify the name of your website's main HTML file (e.g., "index.html").
Optionally, you can also specify an error document if you have one.
Click "Save changes."
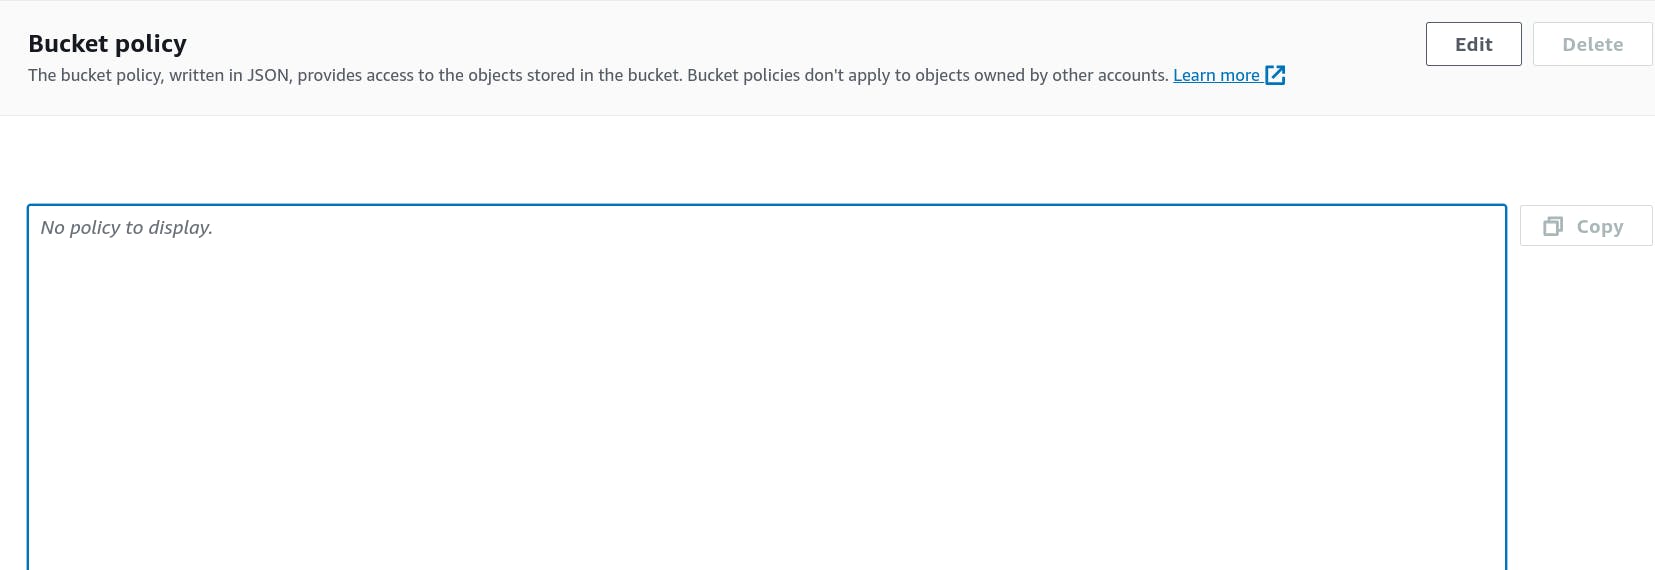
Set Bucket Permissions:
While still in the "Properties" tab, scroll down to the "Permissions" card.

Click " Edit" in Bucket Policy.
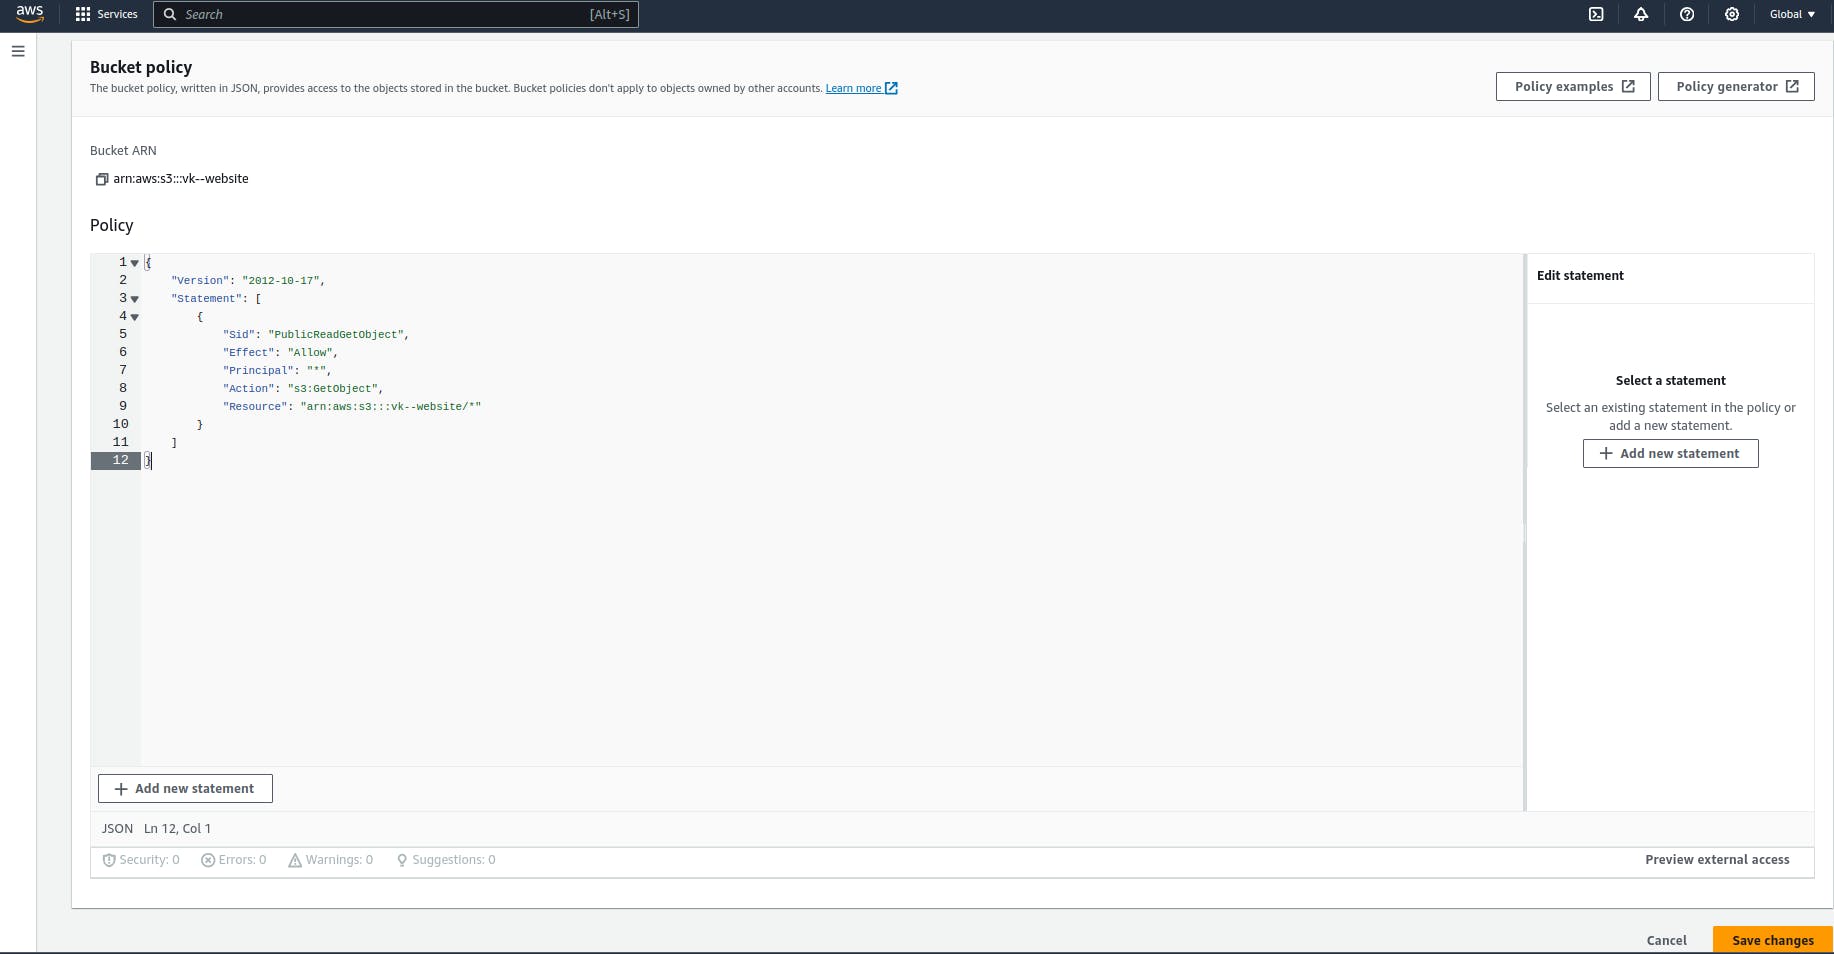
Add a bucket policy that allows public access to your files. Here's an example policy:
  {
      "Version": "2012-10-17",
      "Statement": [
          {
              "Sid": "PublicReadGetObject",
              "Effect": "Allow",
              "Principal": "*",
              "Action": "s3:GetObject",
              "Resource": "arn:aws:s3:::your-bucket-name/*"
          }
      ]
  }
Replace "your-bucket-name" with your actual bucket name.
Click "Save."
Access Your Website:
After configuring your S3 bucket, you will receive an endpoint URL for your website. It will be in the format:
http://your-bucket-name.s3-website-your-region.amazonaws.com.Click your bucket name

Copy the URL
https://vk--website.s3.amazonaws.com/VK-website.png

Paste in Browser
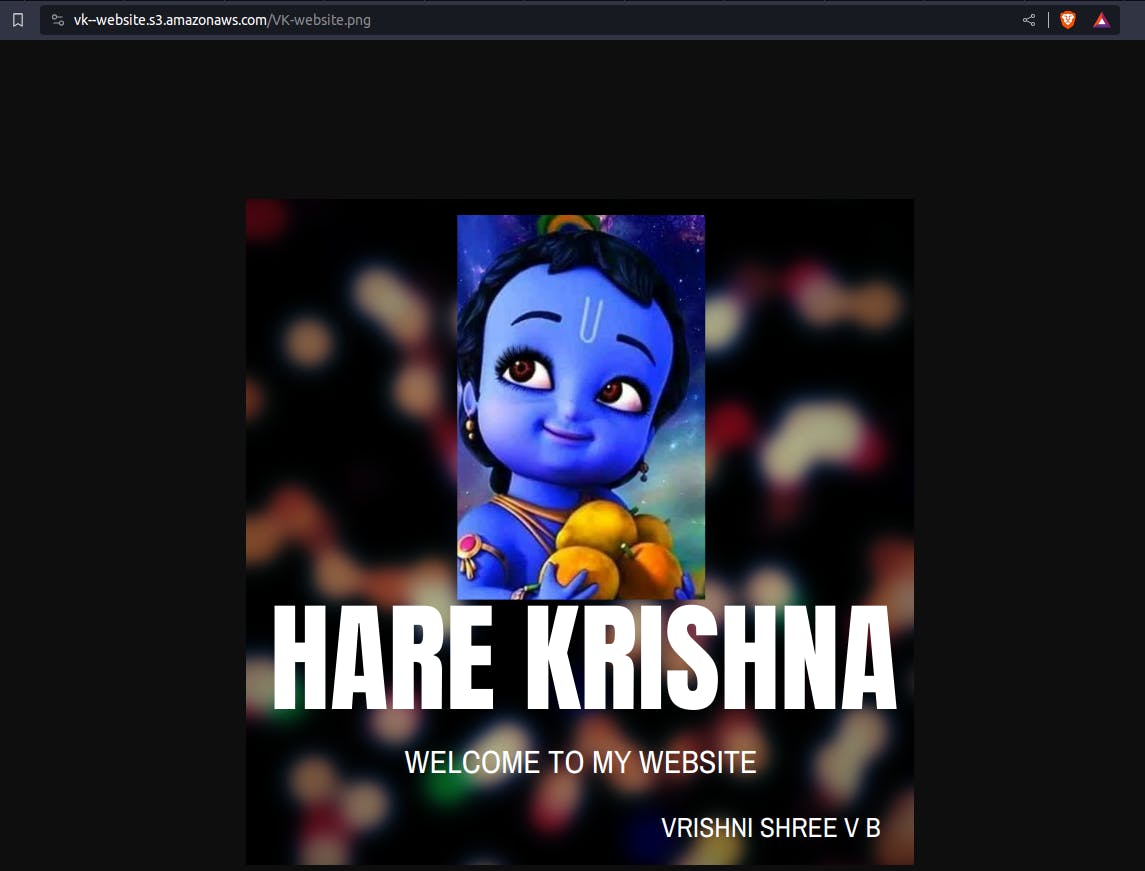
That's it! Your static website should now be hosted on Amazon S3. You can access it through the provided endpoint URL or your custom domain if configured.
Thank you so much for reading
Follow me on LinkedIn to see interesting posts like this : )