
💻 Python | Docker | Jenkins | Networking | Git | Linux 💻
Passionate about leveraging technology to drive efficiency and deliver innovative solutions. Proficient in Python development, Docker containerization, Jenkins automation, computer networking, Git version control, and Linux administration. Skilled in collaborating with diverse teams to deliver high-quality software products. Proficient in AWS EC2 instance management and deployment.
Seeking new opportunities to apply my expertise and contribute to impactful projects. Let's connect and explore how we can work together!
Inter-personal Skills:
Communication, Adaptability, Emotional intelligence, Active listening, Collaboration.
Happy To Connect🔗😊
Feel free to reach me out😃@ --> vrishnishreevb531@gmail.com 📬
Docker
Docker is a software platform that enables you to create, deploy, and run applications in isolated environments called containers.
Containers are lightweight and portable packages that include all the dependencies required for an application to run, such as code, libraries, and system tools.
Docker makes it easy to create and manage these containers, which can be run on any system that supports Docker, regardless of the underlying operating system or hardware.
Docker helps you to develop, test, and deploy applications consistently and reliably, without worrying about compatibility issues or conflicts with other software on the host system.
Docker has become an industry standard for containerization, with a large and active community of developers and users, and is widely used by organizations to build and deploy modern, cloud-native applications.
As you have already installed Docker in the previous day's tasks, now it's time to run Docker commands.
Steps to install Docker are HERE
After installing Docker, continue with below simple steps to setup everything in Docker, if you are completely new : )
step 1: Type Docker Login and click the link provided.

step 2: After clicking the link, it will redirect you to a page similar to👇
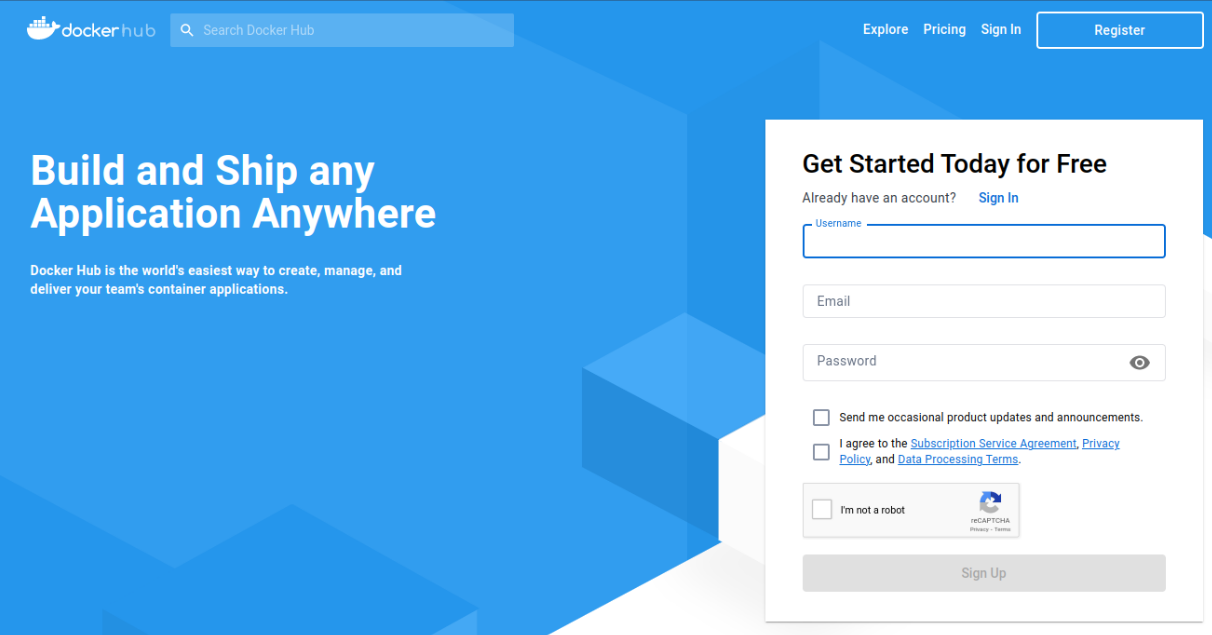
step 3: click on Register, and further it re-directs you to👇
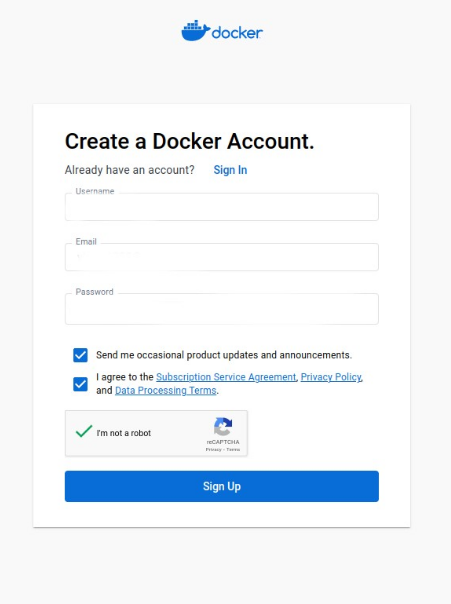
step 4: Enter all your details into it and sign up, Later select whichever plan you need.

step 5: Yes, you have logged in to the docker hub now, Now come back to your Terminal and perform these simple steps

step 6: Now everything is setup, Let's dive into Tasks😁
Tasks:
Use the
docker runcommand to start a new container and interact with it through the command line. [Hint: docker run hello-world]
step 1: Check the users present in your system, just typesudo cat /etc/passwd
step 2: Now create a group and add your current user to the new group by typing this commandsudo usermod -a -G docker $/USER
step 3: Now type,docker ps
step 4: If you got an error of permission denied, don't worry. You just need to Reboot your system. Don't panic, if your system gets turned off, nothing will be lost😊

After this, you will never get a permission denied message, if you type
docker psagain, you will get something like this👇 as we didn't create any container, nothing is displayed here yet
step 5: Our next step is to pull MySQL

Although we didn't create any file or container for MySQL, we just pulled it from the docker hub😁
step 6: Now type
docker images, which show our current images, in our case it shows MySQL.
step 7: Now we must create a container so that it runs under any OS peacefully. so first type this command
docker runSpecify 1 of the displayed environment variable, as shown below👇

This Docker command creates a container running the latest version of MySQL server and sets the root password to "ckvb1998". [Password can be anything of your choice, I used my system password itself]
step 8: Now type,
docker ps, we can see 1 container is created and it's in a running state.
step 9: Now type
docker exec -it <container_id> bashcommand, which says to execute an interactive terminal of that particular container, such that we can use bash in that container.
After that, we can see something like
bash-4.4#as shown here👇
just type
mysql -u root -pwhere this command logs in to the MySQL database server as the root user and prompts for the password.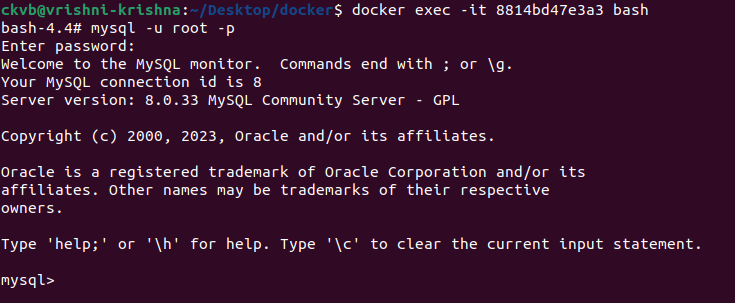
Finally, MySQL is running on your OS😁
Use the
docker inspectcommand to view detailed information about a container or image.
Typedocker psto get the container idSyntax for container:
docker inspect <container_id>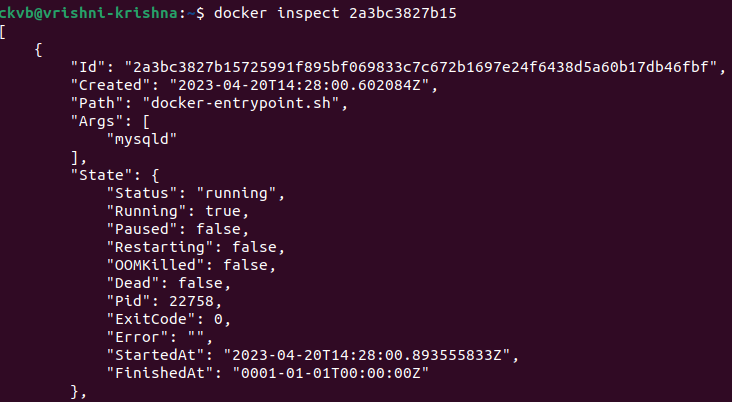
Type
docker imagesfor image id
Syntax for image:docker inspect <image_id>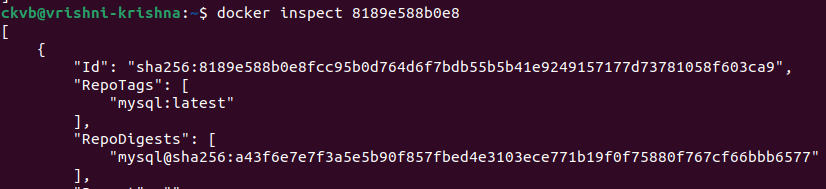
Use the
docker portcommand to list the port mappings for a container.
syntax:docker port <container_id>
Use the
docker statscommand to view resource usage statistics for one or more containers.syntax:
docker stats <container_id>
Use the
docker topcommand to view the processes running inside a container.syntax:
docker top <container_id>[you can even write first 3 numbers of the container id]
Use the
docker savecommand to save an image to a tar archive.
syntax :docker save -o <file_name.tar> <image_name>
I just created a docker directory to save that file

The below command saves a Docker image named "mysql" as a tar archive file named "mysql.tar" in the current directory.

type
lsto see the created file
Use the
docker loadcommand to load an image from a tar archive.synatx:
docker load -i <file_name.tar>
This Docker command loads a Docker image or set of images from a tar archive file specified by
<file_name.tar>.
Thank you so much for reading.
Follow me on LinkedIn to see interesting posts like this : )


