DevOps, Day - 47
Test Knowledge on aws 💻 📈

💻 Python | Docker | Jenkins | Networking | Git | Linux 💻
Passionate about leveraging technology to drive efficiency and deliver innovative solutions. Proficient in Python development, Docker containerization, Jenkins automation, computer networking, Git version control, and Linux administration. Skilled in collaborating with diverse teams to deliver high-quality software products. Proficient in AWS EC2 instance management and deployment.
Seeking new opportunities to apply my expertise and contribute to impactful projects. Let's connect and explore how we can work together!
Inter-personal Skills:
Communication, Adaptability, Emotional intelligence, Active listening, Collaboration.
Happy To Connect🔗😊
Feel free to reach me out😃@ --> vrishnishreevb531@gmail.com 📬

1. Launch an EC2 Instance:

2. Install a Web Server and Deploy a Web Application:
Update the Package List: Start by updating the package list on your EC2 instance to ensure you have the latest package information:
sudo apt updateInstall Apache Web Server: Install the Apache web server using the following command:
sudo apt install apache2Start and Enable Apache: Once Apache is installed, start it and enable it to automatically start on boot:
 sudo systemctl start apache2
 sudo systemctl enable apache2
Verify Apache Installation: You can check if Apache is running by opening a web browser and entering your EC2 instance's public IP address. You should see the default Apache landing page.

Deploy a Simple Web Application: To deploy a web application, you can create a basic HTML file or upload your application files to the document root directory. The default document root for Apache on Ubuntu is
/var/www/html. For example, to create a simple HTML page:echo "<html><body><h1>Hello, AWS EC2!</h1></body></html>" | sudo tee /var/www/html/index.htmlThis command creates an "index.html" file with a basic "Hello, AWS EC2!" message. You can change the message as you need it, as I did below : )

Adjust File Permissions (if necessary)
sudo chown -R www-data:www-data /var/www/html
Test Your Web Application: Once you've deployed your application, you can access it through your EC2 instance's public IP or domain name in a web browser.
Copy your PublicIP

and check the output in the browser : )

3. Monitor the EC2 Instance with Amazon CloudWatch:
Sign in to the AWS Management Console and navigate to the Amazon CloudWatch dashboard.
In the left navigation pane, click on "Alarms" under the "Alarms" section.
Click the "Create Alarm" button.
Under "Select metric," choose the EC2 instance you want to monitor and select the appropriate metric(s) like CPU utilization, network, or disk metrics.
Set the alarm threshold and actions (e.g., send a notification or take specific actions when the threshold is breached).
Review and create the alarm.

Please Check this BLOG to create an alarm
Once done Let's continue with further steps : )
4. Troubleshooting:
If you encounter issues with your EC2 instance or web server, here are some common troubleshooting steps:
Check the EC2 instance's system and Apache logs for errors:
System logs:
cat /var/log/syslog
Apache error logs:
cat /var/log/apache2/error.log
Verify that your security group rules allow incoming traffic on port 80 (HTTP) for your web server.
Ensure that your web application files are in the correct directory (
/var/www/htmlfor Apache).Check for any software updates and security patches using
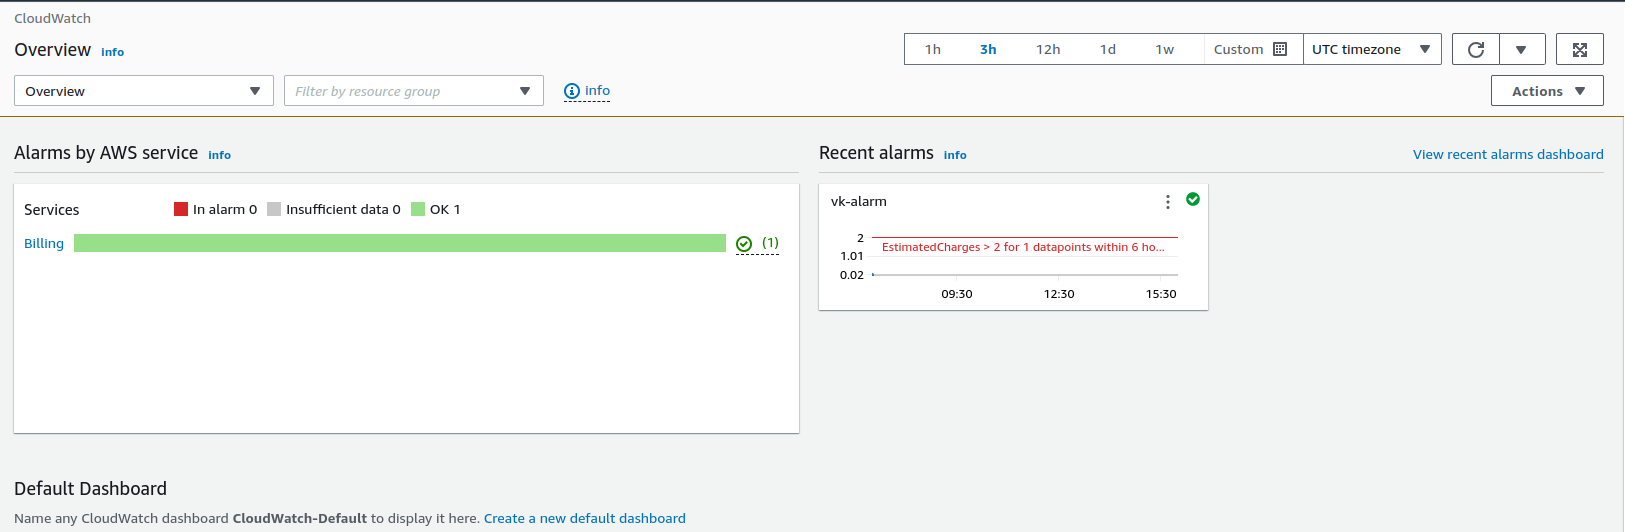
sudo apt updateandsudo apt upgrade.Review your CloudWatch alarms and metrics to identify any resource utilization issues. (Our Cloud Watch Overview)
If you're having trouble connecting via SSH, ensure that your security group allows incoming SSH traffic on port 22.

1. Create an Auto Scaling Group:
Sign in to the AWS Management Console and navigate to the Auto Scaling dashboard.

Click on "Create Auto Scaling group."

Choose an existing launch configuration or create a new one. A launch configuration defines the settings for the instances that will be launched.


Configure the Auto Scaling group settings, including the desired capacity, minimum and maximum size, and network settings.
Set up scaling policies based on your requirements, such as scaling based on CPU utilization or other custom metrics.

Our Auto-scaling group is created.

2. Monitor with Amazon CloudWatch:
After creating the Auto Scaling group, you can set up CloudWatch alarms to monitor its performance. Create alarms for metrics like CPU utilization or network traffic.
Configure actions for your alarms, such as triggering the scaling of your Auto Scaling group when a certain threshold is reached.
Monitor the CloudWatch dashboard to keep an eye on the performance of your Auto Scaling group and EC2 instances.
3. Use AWS CLI to View Auto Scaling Group and EC2 Instances:
Install and configure the AWS CLI on your local machine if you haven't already.
Use AWS CLI commands to view the state of your Auto Scaling group:
List Auto Scaling groups:
aws autoscaling describe-auto-scaling-groupsGet details of a specific Auto Scaling group (replace
<AutoScalingGroupName>with your group name):aws autoscaling describe-auto-scaling-groups --auto-scaling-group-names <AutoScalingGroupName>
Use AWS CLI commands to view the state of your EC2 instances:
List all instances in your AWS account:
aws ec2 describe-instancesFilter instances by Auto Scaling group (replace
<AutoScalingGroupName>with your group name):aws ec2 describe-instances --filters "Name=tag:aws:autoscaling:groupName,Values=<AutoScalingGroupName>"Install the package named jq

Check the number of running instances:
aws ec2 describe-instances --filters "Name=instance-state-name,Values=running" | jq '.Reservations | length'
Remember to replace <AutoScalingGroupName> with the actual name of your Auto Scaling group.
In the end, don't forget to delete the auto-scaling group.

because it will auto-launch a new instance every time, and you know the power of running an instance🤣🤣🤣🤣🤣

Thank you so much for reading
Follow me on LinkedIn to see interesting posts like this : )


